Exporting a private game
Most git repositories like Gitlab,Github and Bitbucket use SSH protocol to securely communicate, these keys allow the user to not provide username and password. W4Builds can use this type of keys when it needs to clone a private repository. In this section you will learn how to setup SSH keys to securely communicate with your git repo.
Prerequisites
Creating SSH keys requires the following tools
OpenSSH client. Most modern operating systems come with it pre-installed.
Generate an SSH key pair
SSH Keys comes in pairs, a public file and a private file. Your git repository will store the public and w4builds will store the private. You can think of w4builds as a git client
Open a terminal.
Run ssh-keygen -t followed by the key type and an optional comment. This comment is included in the .pub file that’s created. You may want to use an email or some comment easily indicate this is for w4builds
ssh-keygen -t ed25519 -C "w4builds-ssh-key"
Press Enter. You should see an output similar to this
Generating public/private ed25519 key pair.
Enter file in which to save the key (/home/user/.ssh/id_ed25519):

TYPE: github-w4builds
Two new files
If the previous steps were successfully, you should have two(2) new files in the directory
github-w4builds
github-w4builds.pub
Storing keys in git repositories
After the generating the private and public files, we need to store the public file on your git repository.
Copy the contents of your public key file into your clipboard
macOS
cat -d '\n' < github-w4builds.pub | pbcopy
Linux (requires the xclip package)
xclip -sel clip < github-w4builds.pub
Git Bash on Windows
cat github-w4builds.pub | clip
Follow the instructions on your git repository
Gitlab
Sign in to GitLab
On the left sidebar, select your avatar
Select Edit profile
On the left sidebar, select SSH Keys
Select Add new key
In the Key box, paste the contents of your public key. If you manually copied the key, make sure you copy the entire key, which starts with ssh-rsa, ssh-dss, ecdsa-sha2-nistp256, ecdsa-sha2-nistp384, ecdsa-sha2-nistp521, ssh-ed25519, sk-ecdsa-sha2-nistp256@openssh.com, or sk-ssh-ed25519@openssh.com, and may end with a comment
In the Title box, type a description, like Work Laptop or Home Workstation
Select authentication for key type.
Optional. Update Expiration date to modify the default expiration date
Select Add key
Github
Sign in to Github.
In the upper-right corner of any page on GitHub, click your profile photo, then click Settings.
In the “Access” section of the sidebar, click SSH and GPG keys.
Click New SSH key or Add SSH key.
In the “Title” field, add a descriptive label for the new key. For example, if you’re using a personal laptop, you might call this key “Personal laptop”.
Select authentication for key type.
In the “Key” field, paste your public key.
Click Add SSH key.
Storing keys in w4builds
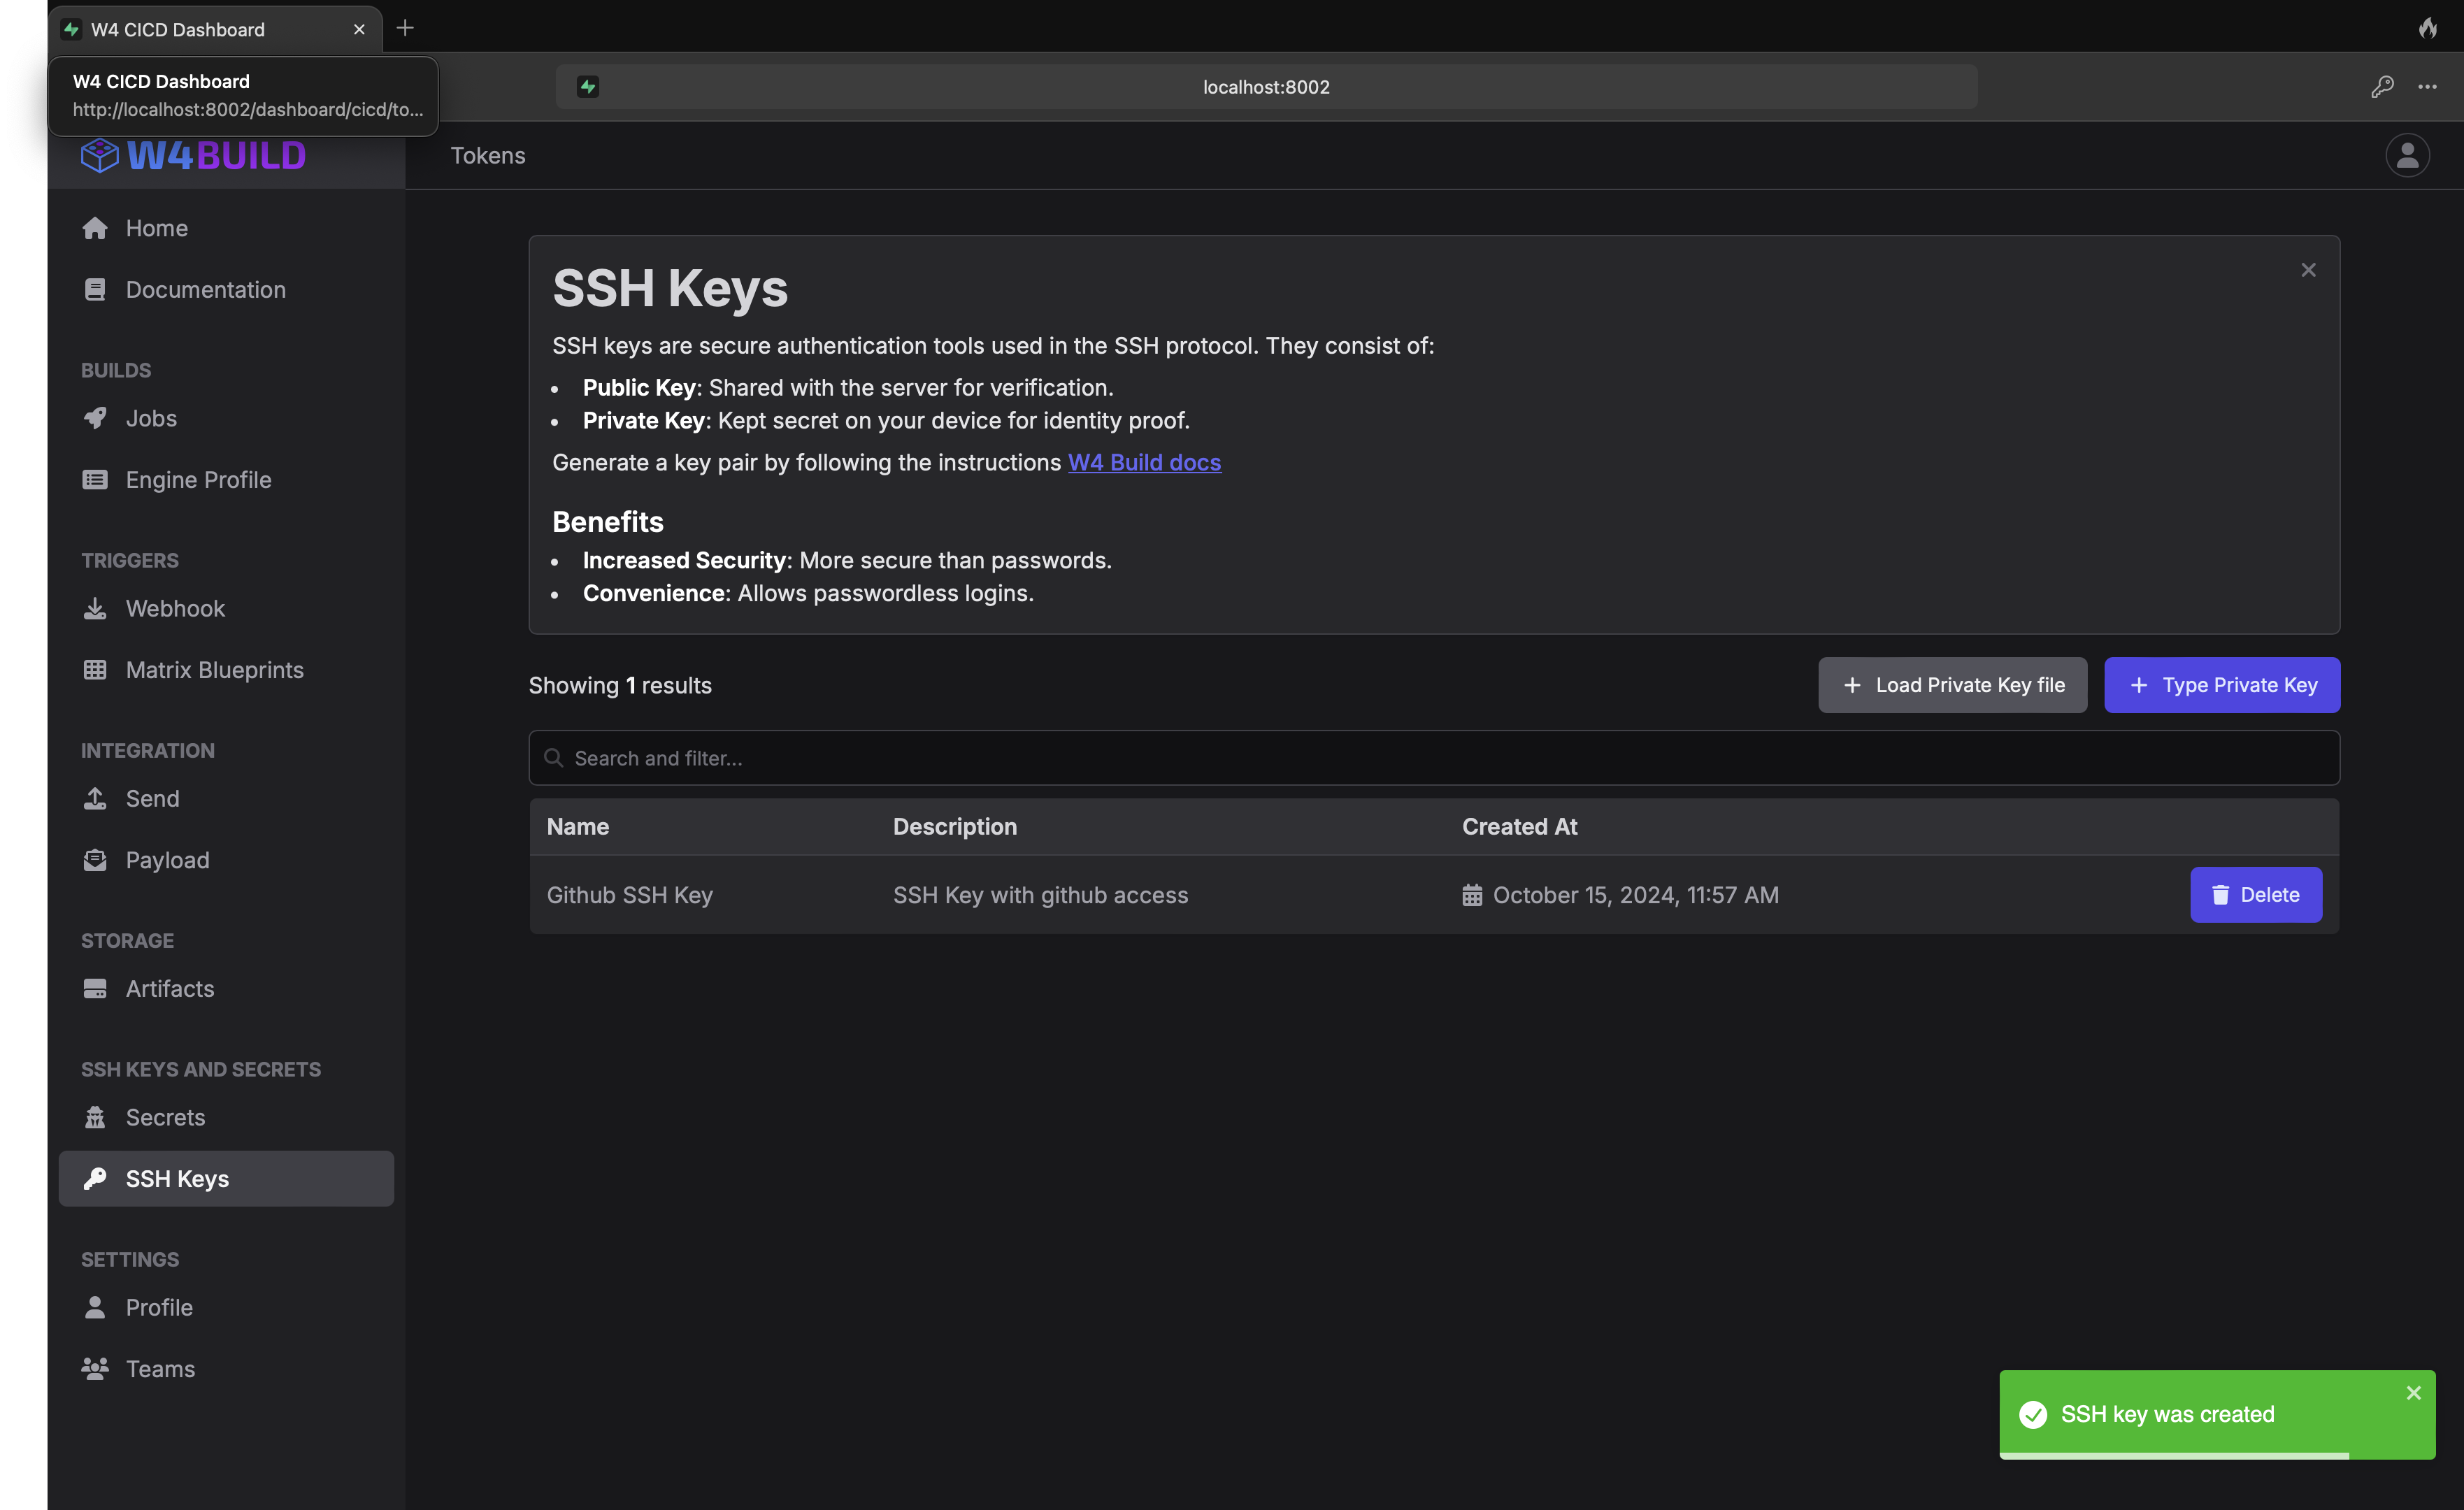
Login to w4builds
Click “SSH Keys” Under SSH KEY AND SECRETS on the left side menu

Clik “Load private Key”, and select the new private file (the one without .pub)
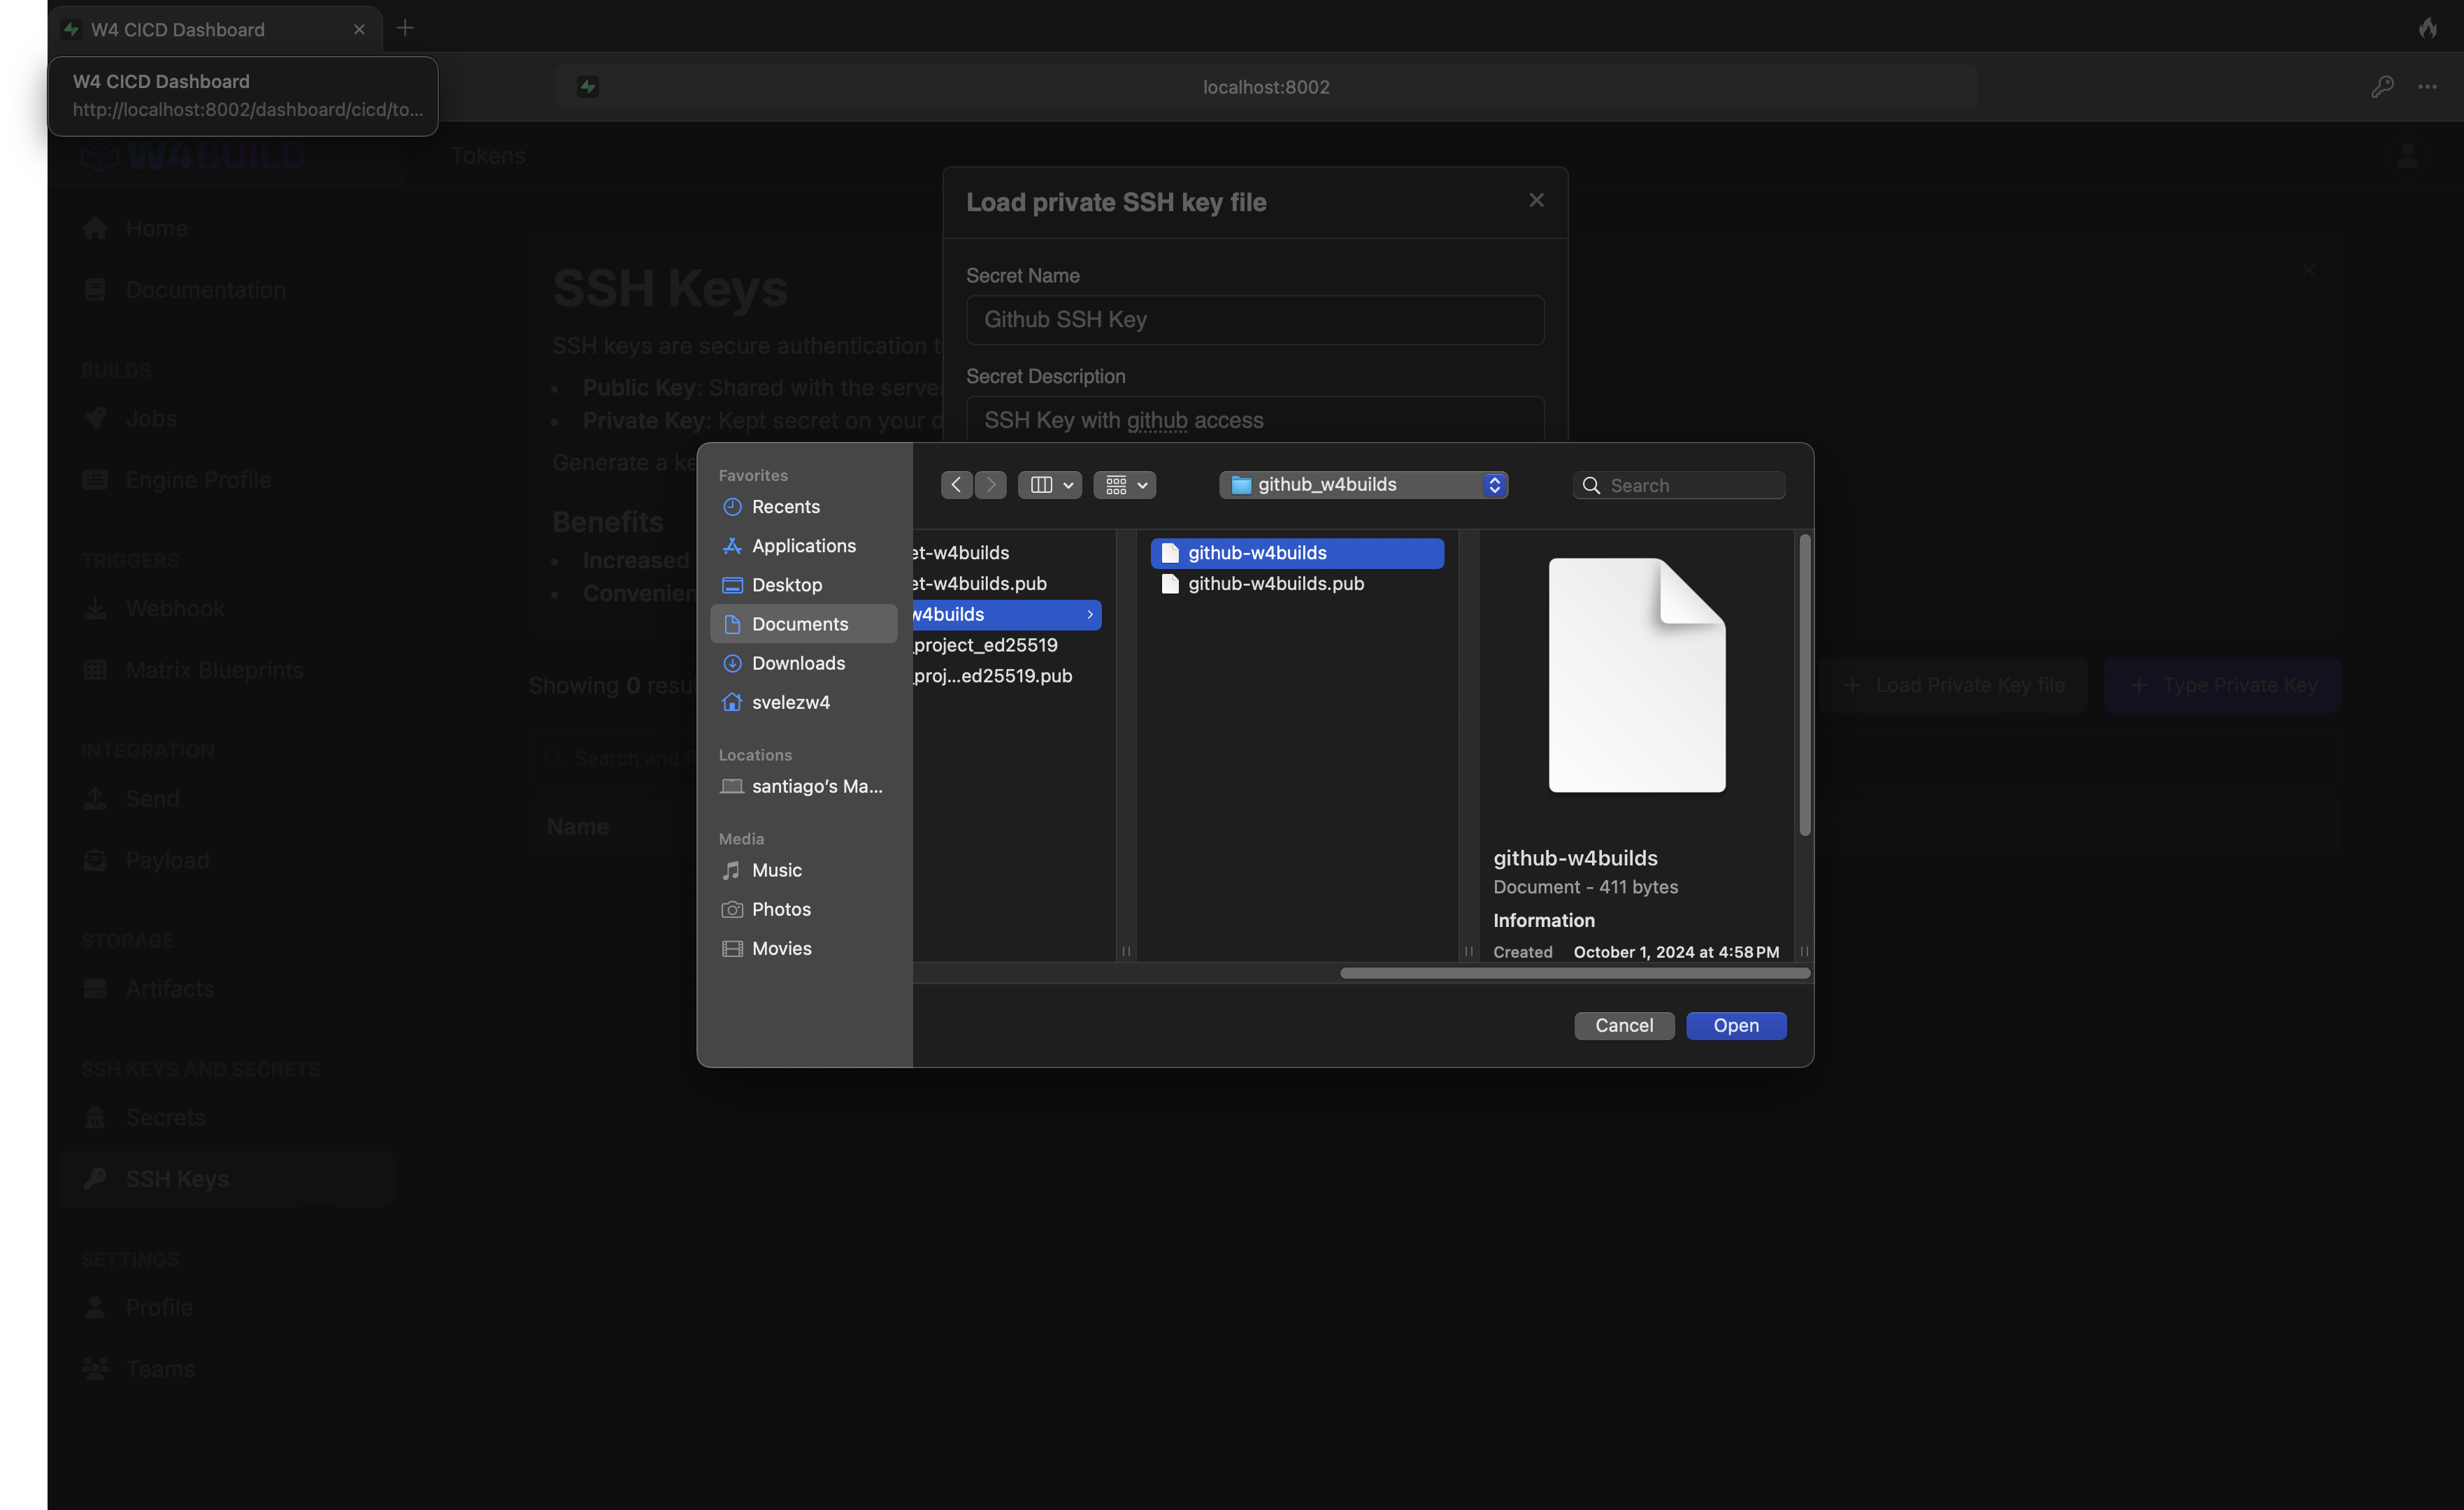
Click save
Triggering the build manually
Now that we have everything set up to authenticate with the Git repository, let’s proceed to trigger the build
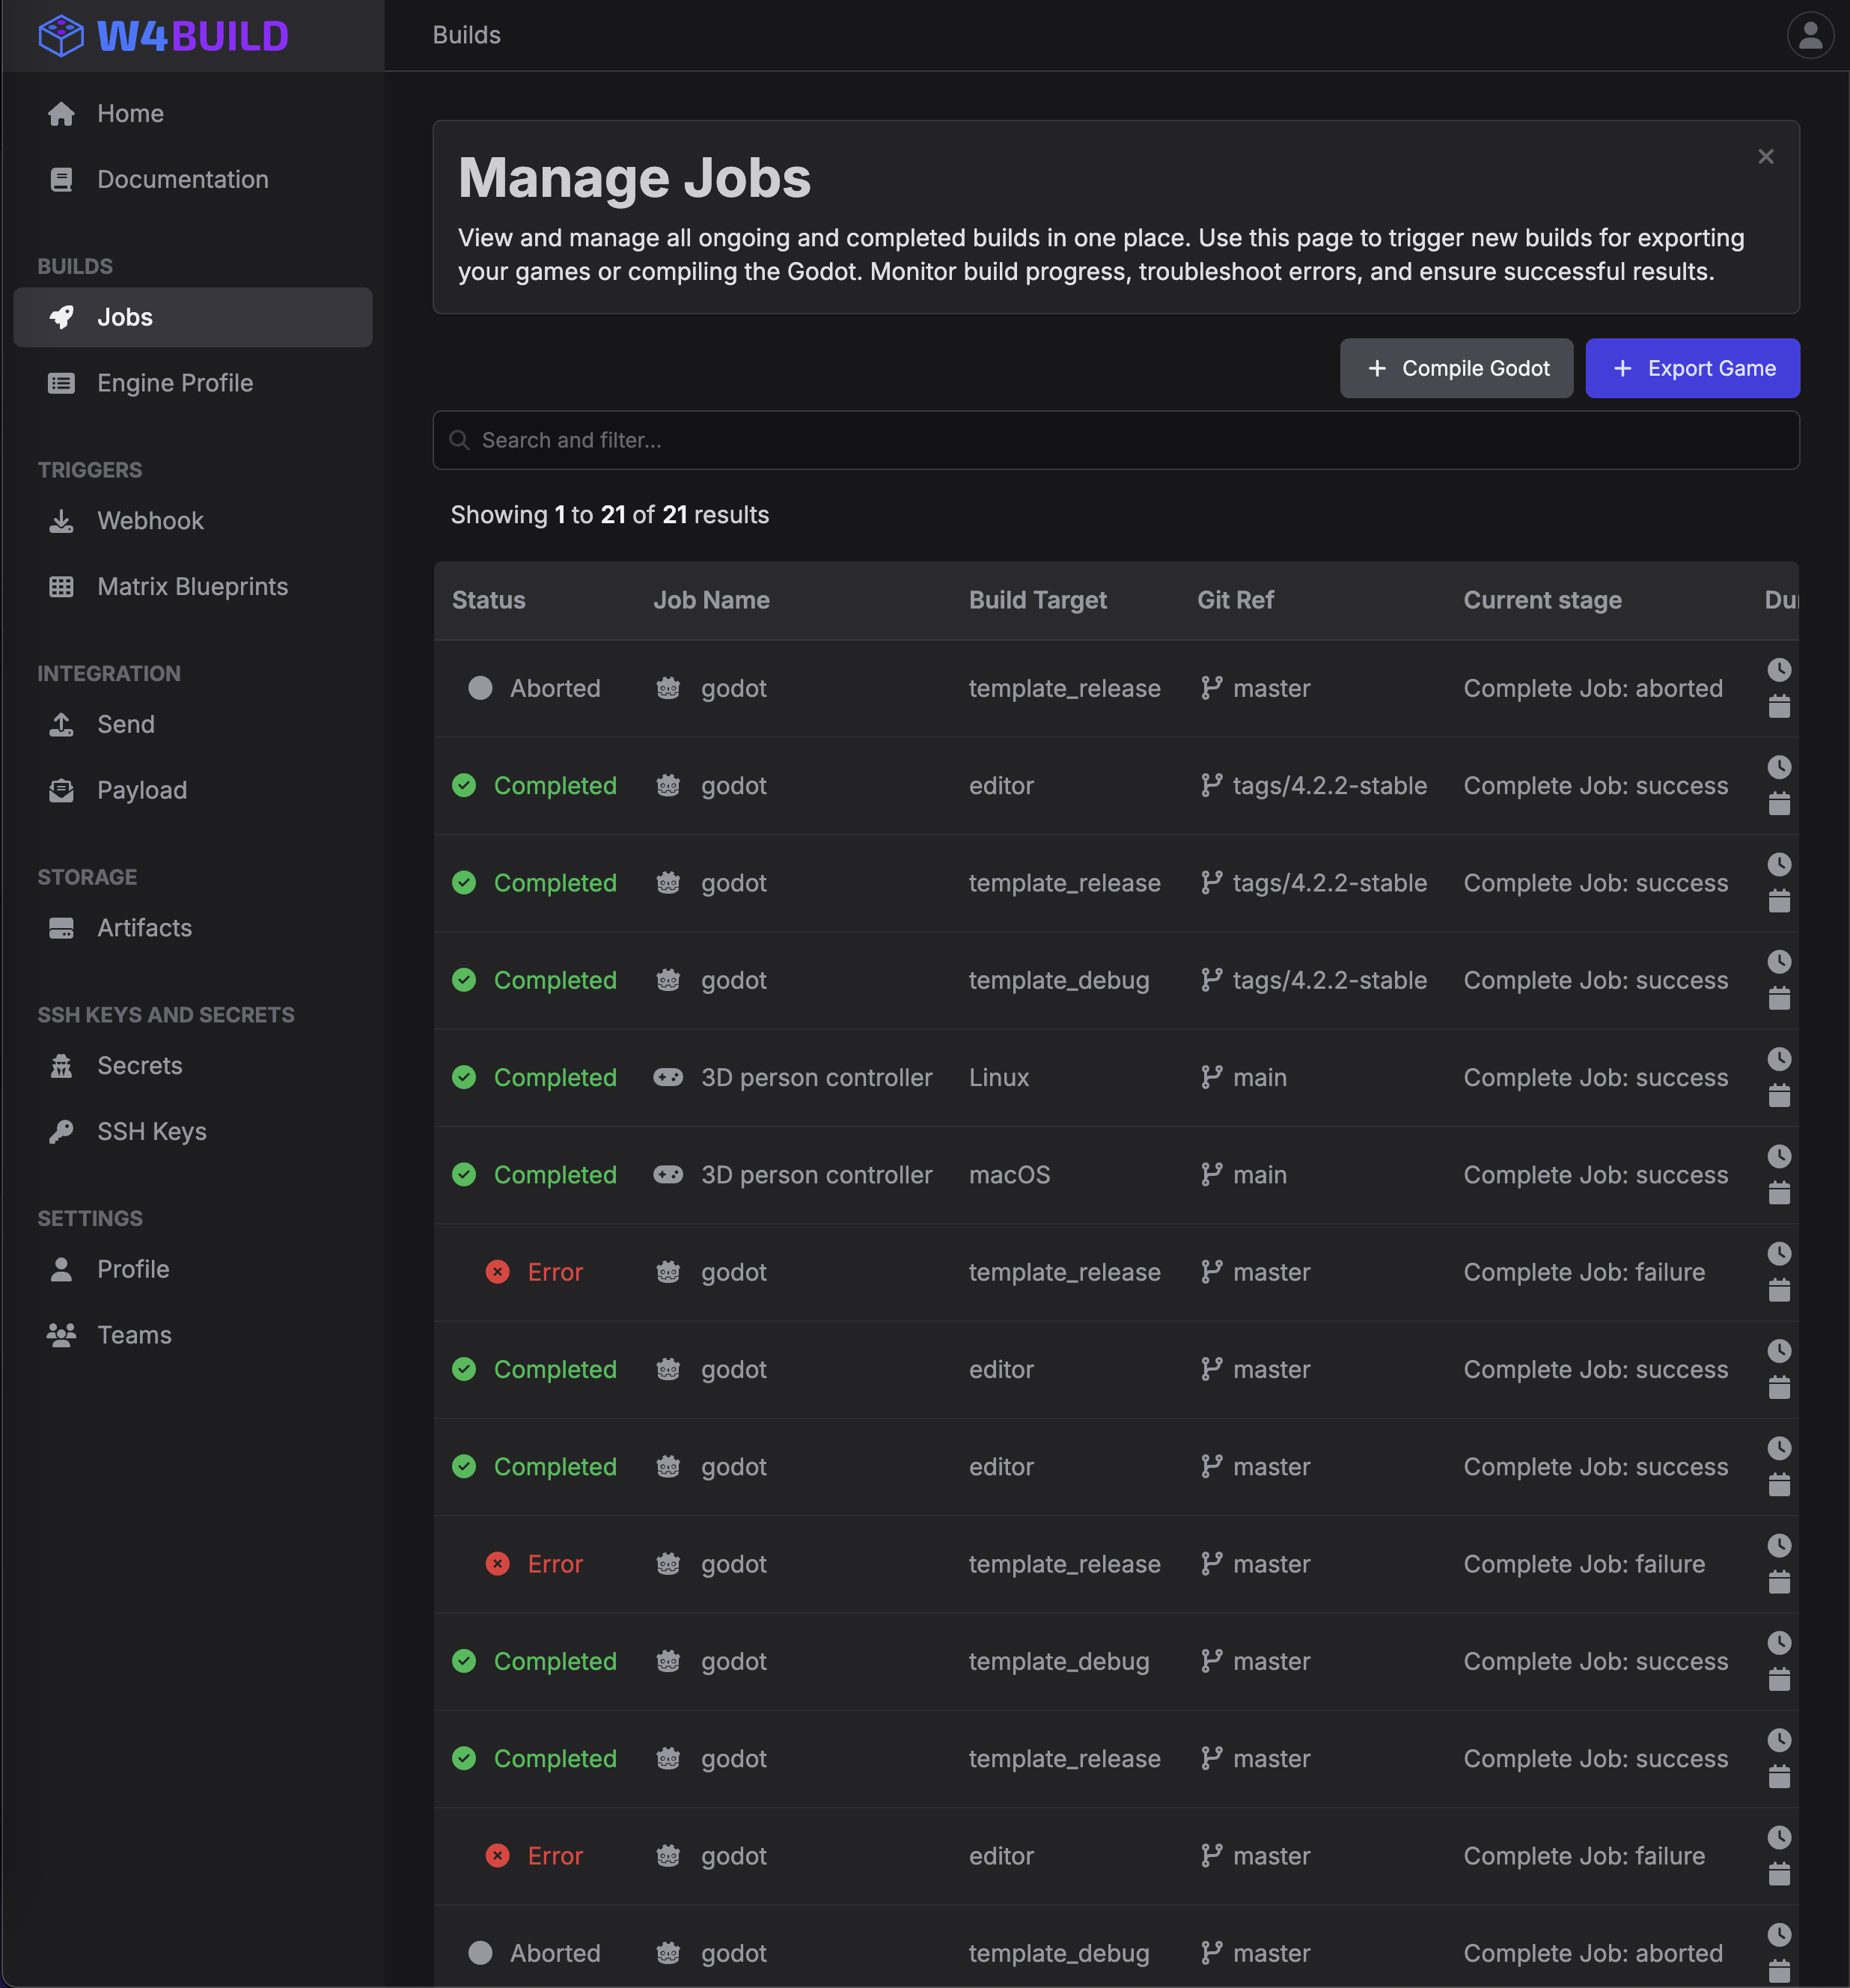
Click “Jobs” under Builds group, on left navigation bar
Click “Export Game”
Fill out the form, in the following image we include a commonly used values
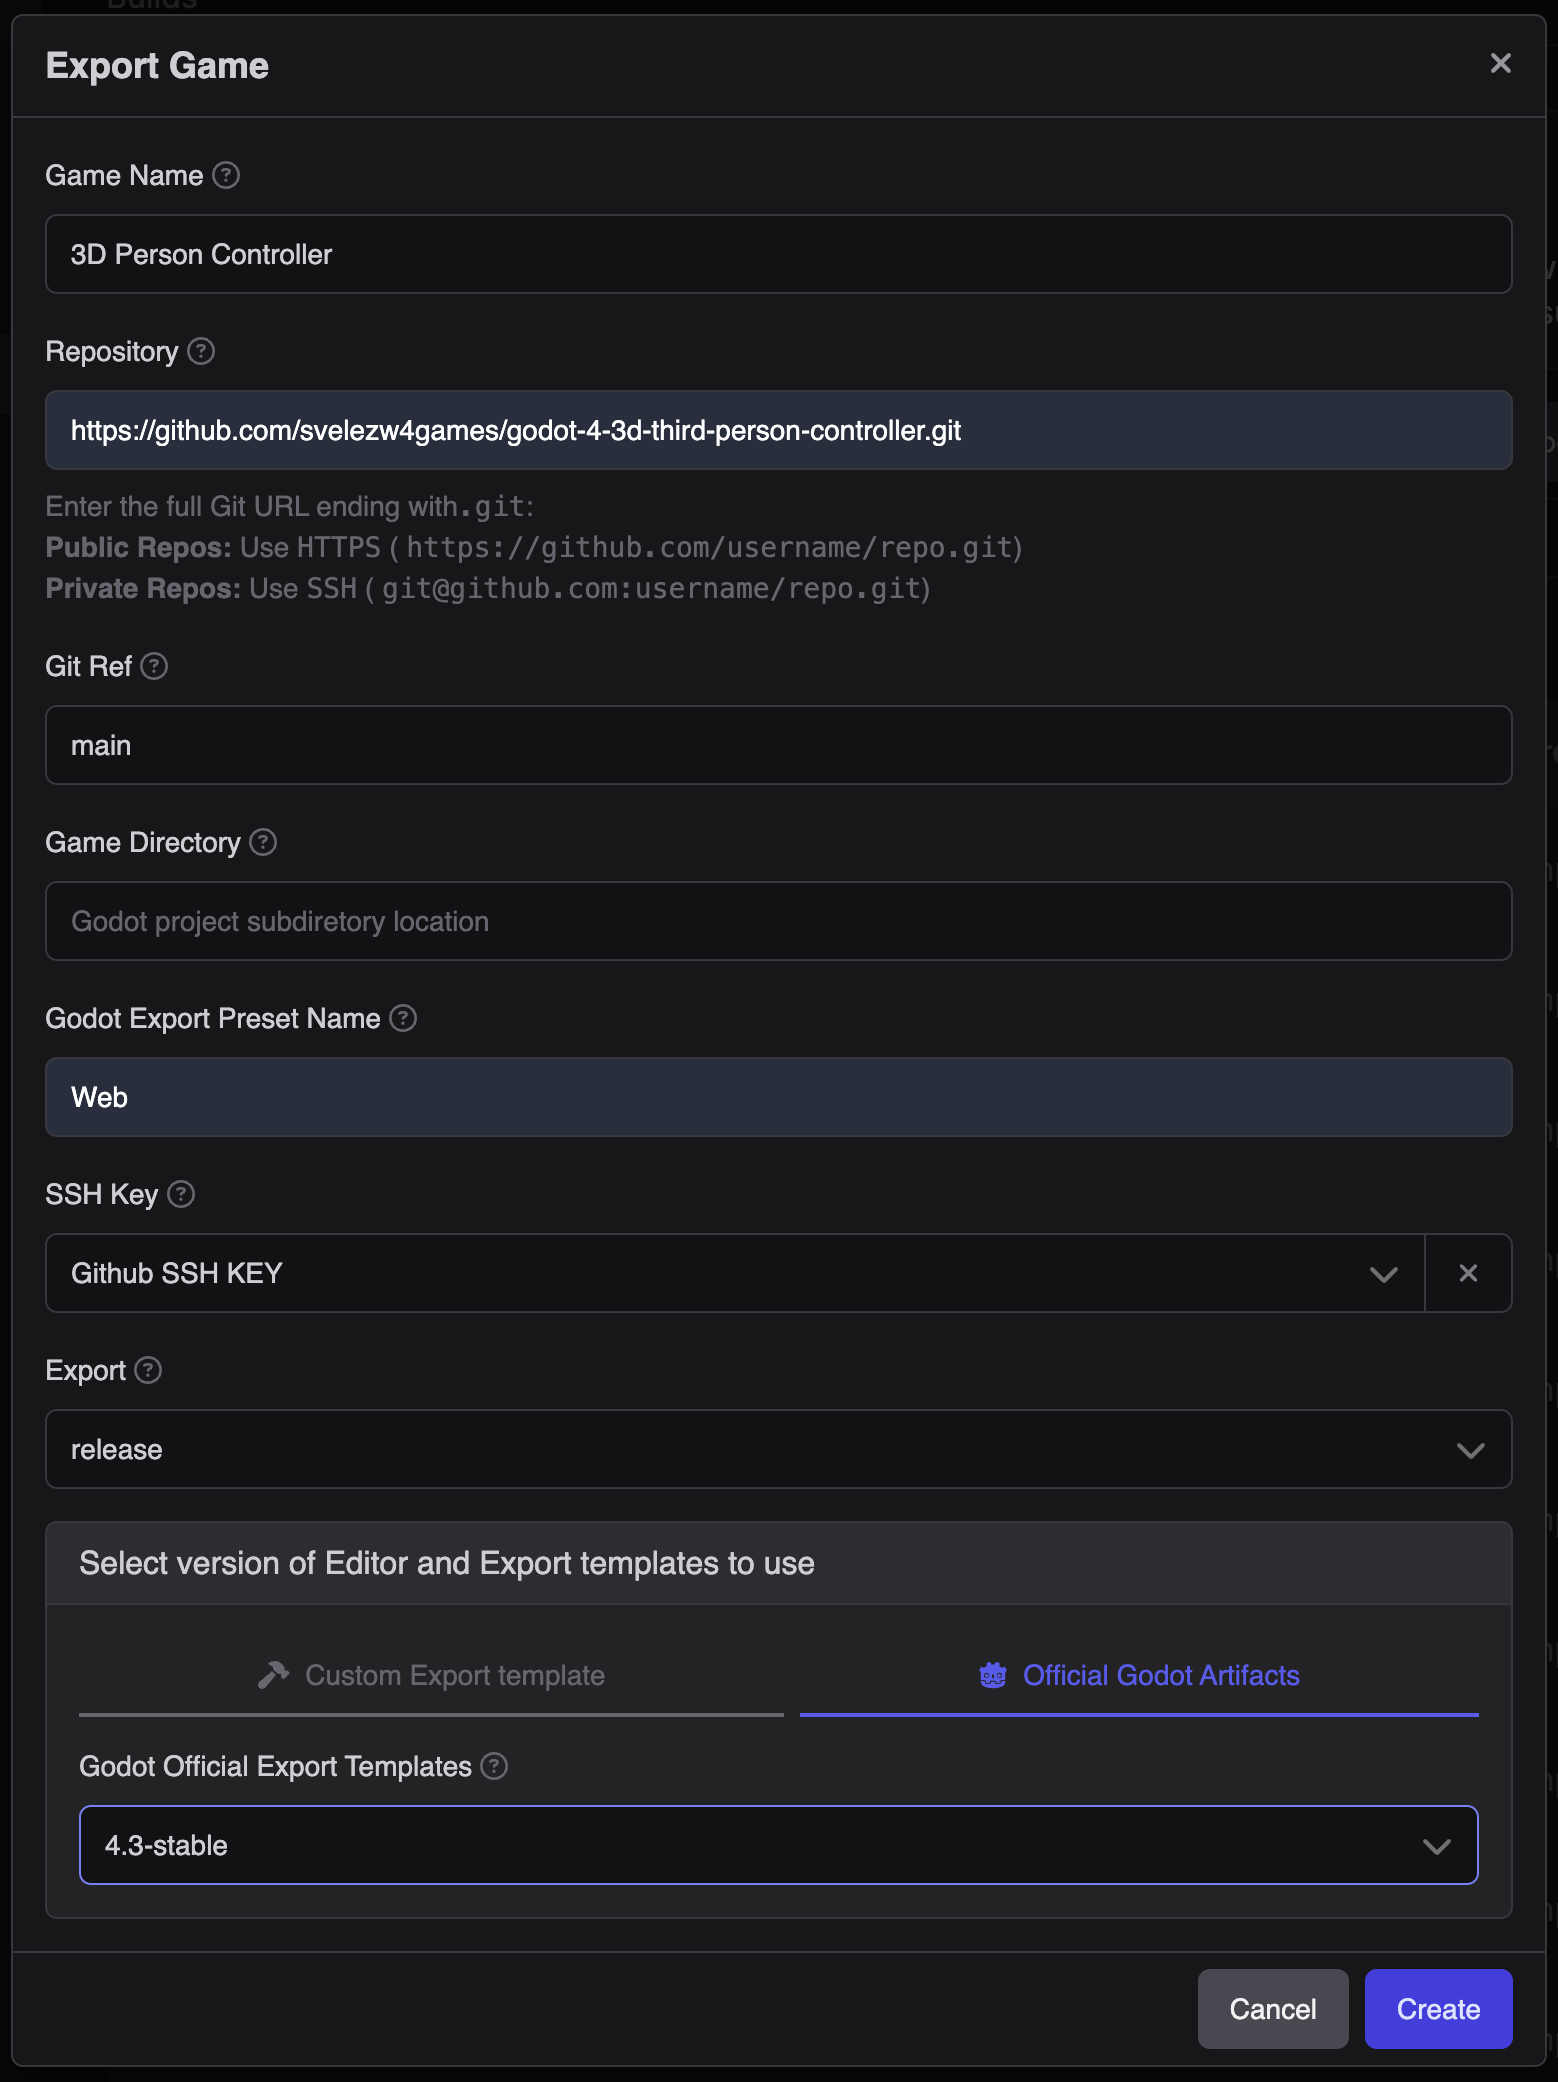
- Game Name
The title of the game.
- Repository
The repository where the code for the engine is located. in this case Godot fork. Remember to add the full url, including .git
- Git Ref
The name of the Git branch (such as “main” or “development”), a tag (like “v1.0.0”), or a specific commit hash for the version of the game you wish to compile.
- Game Directory
The directory where your project.godot file is located. Leave this field blank if the project.godot file is in the root directory of your repository.
- Godot Export Preset Name
The name you’ve assigned to your export preset in Godot (found under Project > Export > Your Preset > Name).
For this scenario, we are using the following export presets export_presets.
- Secret Token
Select the SSH token we created previously
- Export
Games can be exported with
- Debug
Developing: You’re actively writing code and testing features.
Finding Bugs: You want to track down errors and see detailed information.
Performance Tuning: You need to analyze performance metrics to optimize your game.
- Release
Publishing: You’re ready to share your game with the world.
Final Testing: You’ve finished development and want to test the final product under realistic conditions.
Performance Optimization: You’ve made optimizations and want to verify they work correctly.
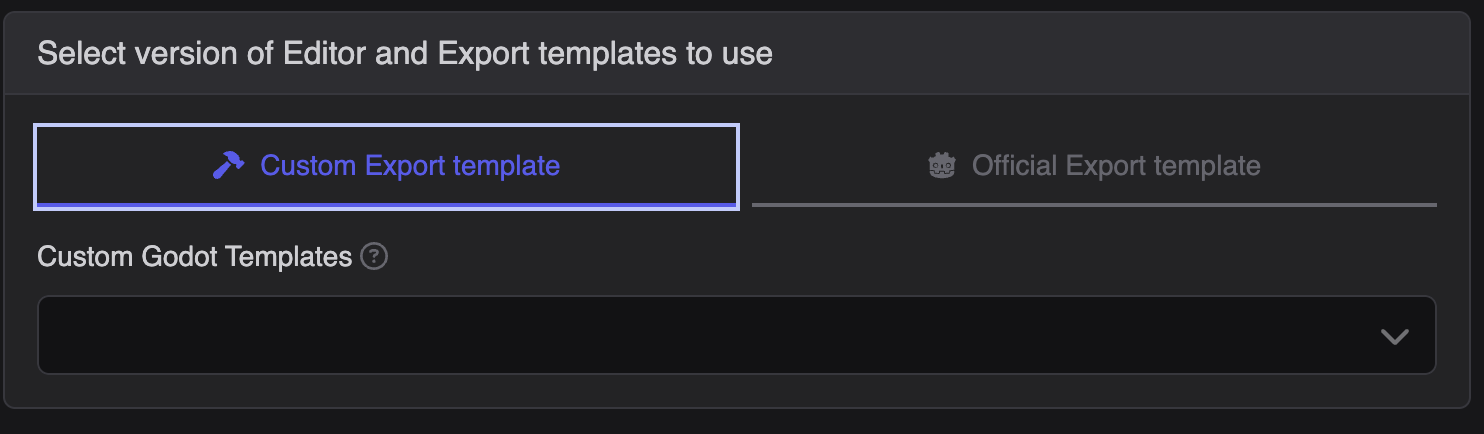
Select Editor and Export template Versions
TAB: Custom Godot Templates (your compiled godot binaries)
To use custom Godot editor and templates, select the name of the matrix that was used to build them.
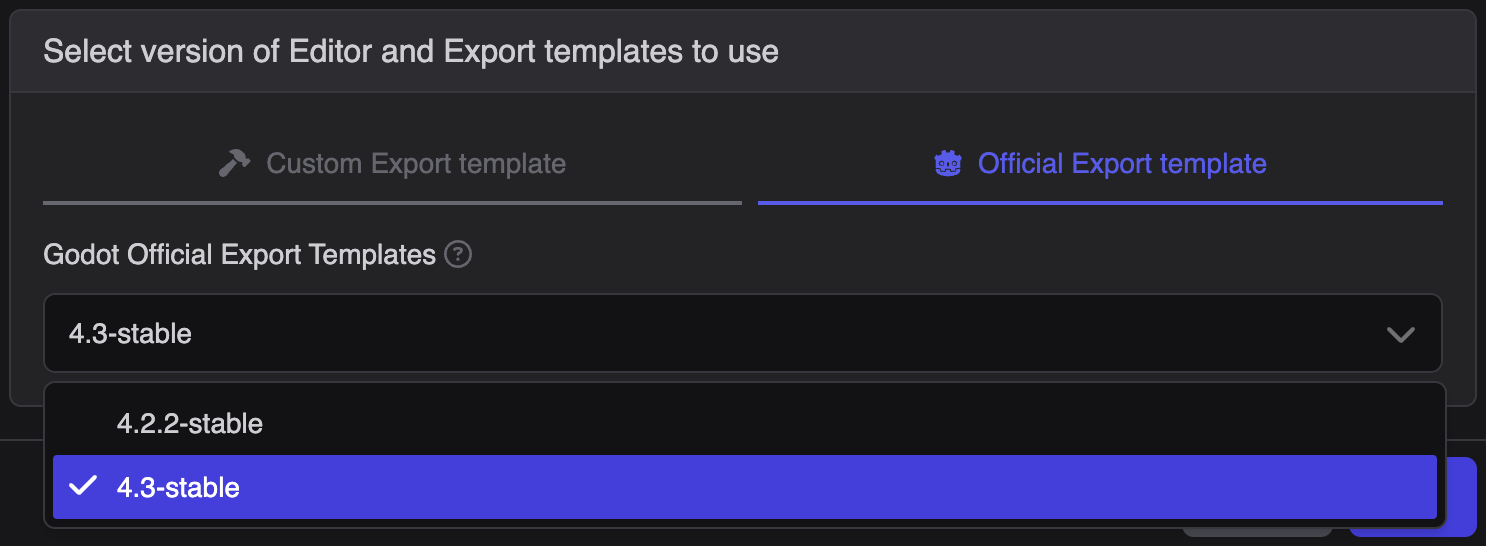
TAB: Godot Official Export Templates
To use Official Godot editor and templates, Select the desired godot official version
Note
To export games from Godot, you need two main ingredients:
- Editor:
Your magical toolbox for crafting the game world.
- Export Templates:
Special recipes for packaging your game onto various platforms.
The editor helps you make the game. The templates help you share it with others.
CLick trigger Job