Itch.io
Itch.io works by uploading files to a specific project, making them available for users to download or play directly in their browser
Exporting your game to Itch.io?
Itch.io Section video tutorial
Setting up Itchio
In order to deploy int itchio, we need 2 main things. An Api key and a Game.
Login to itchio
Enter the itchio dashboard

Click new project
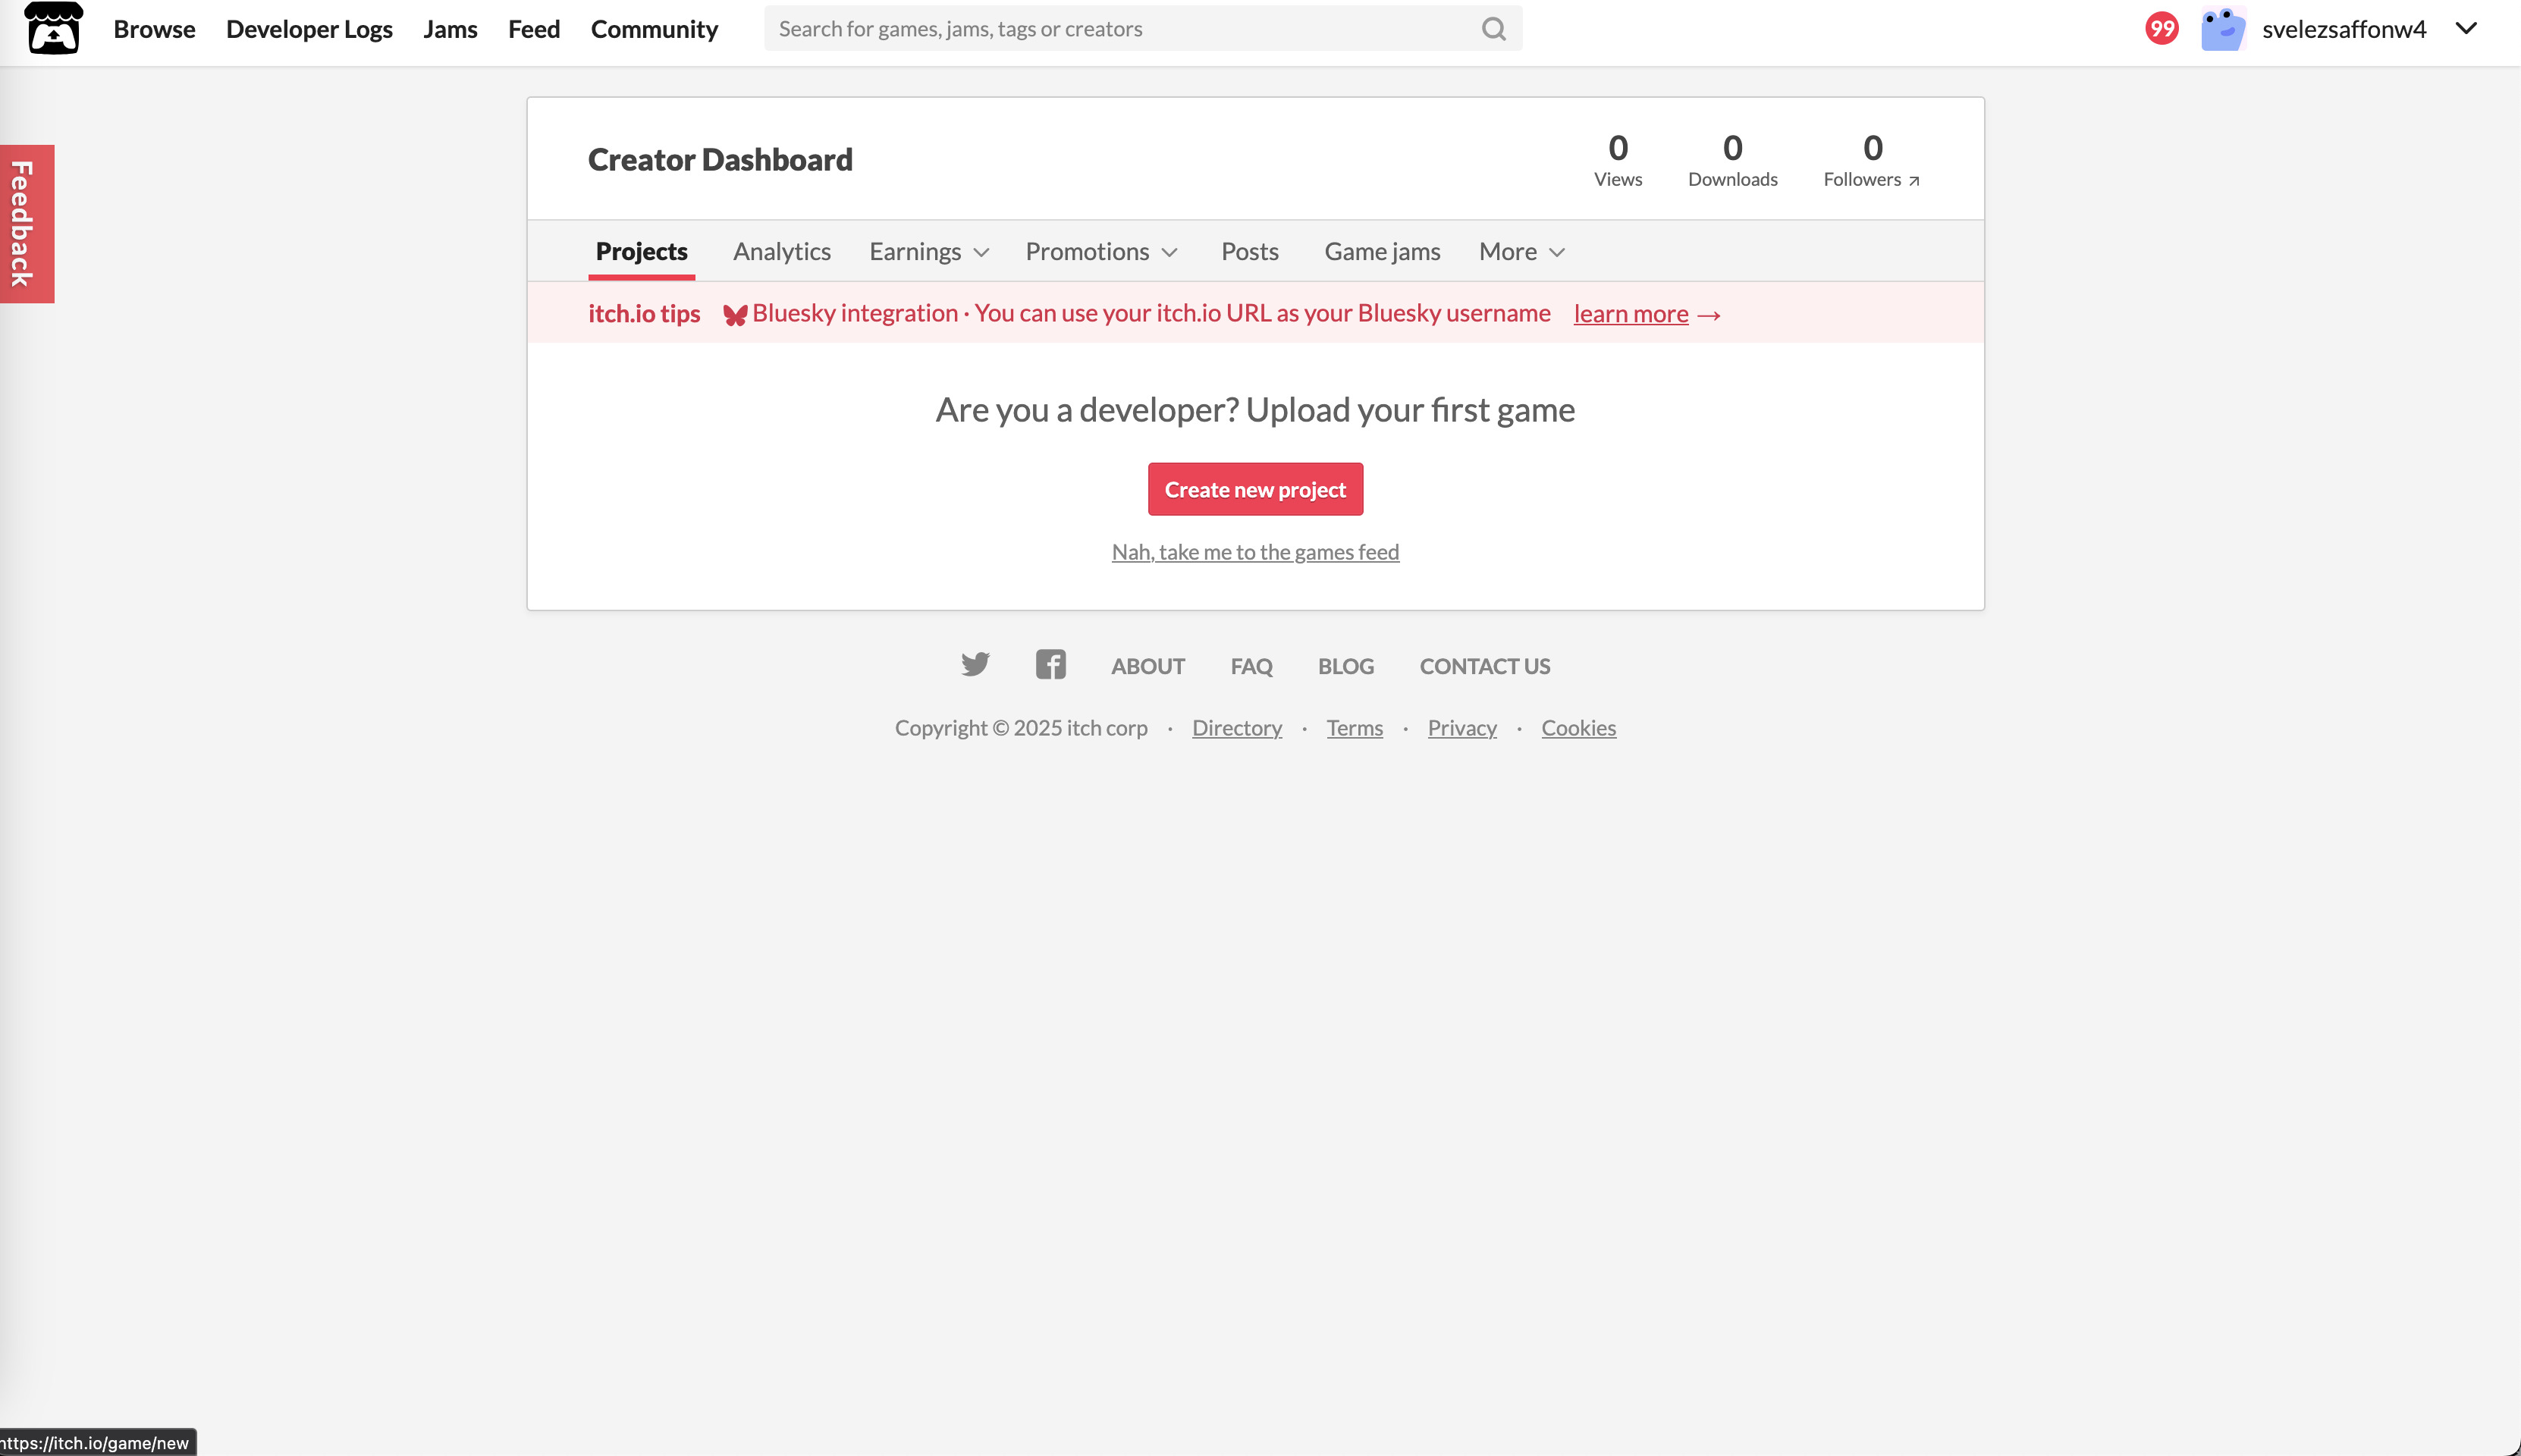
Enter the desired project name
Click save
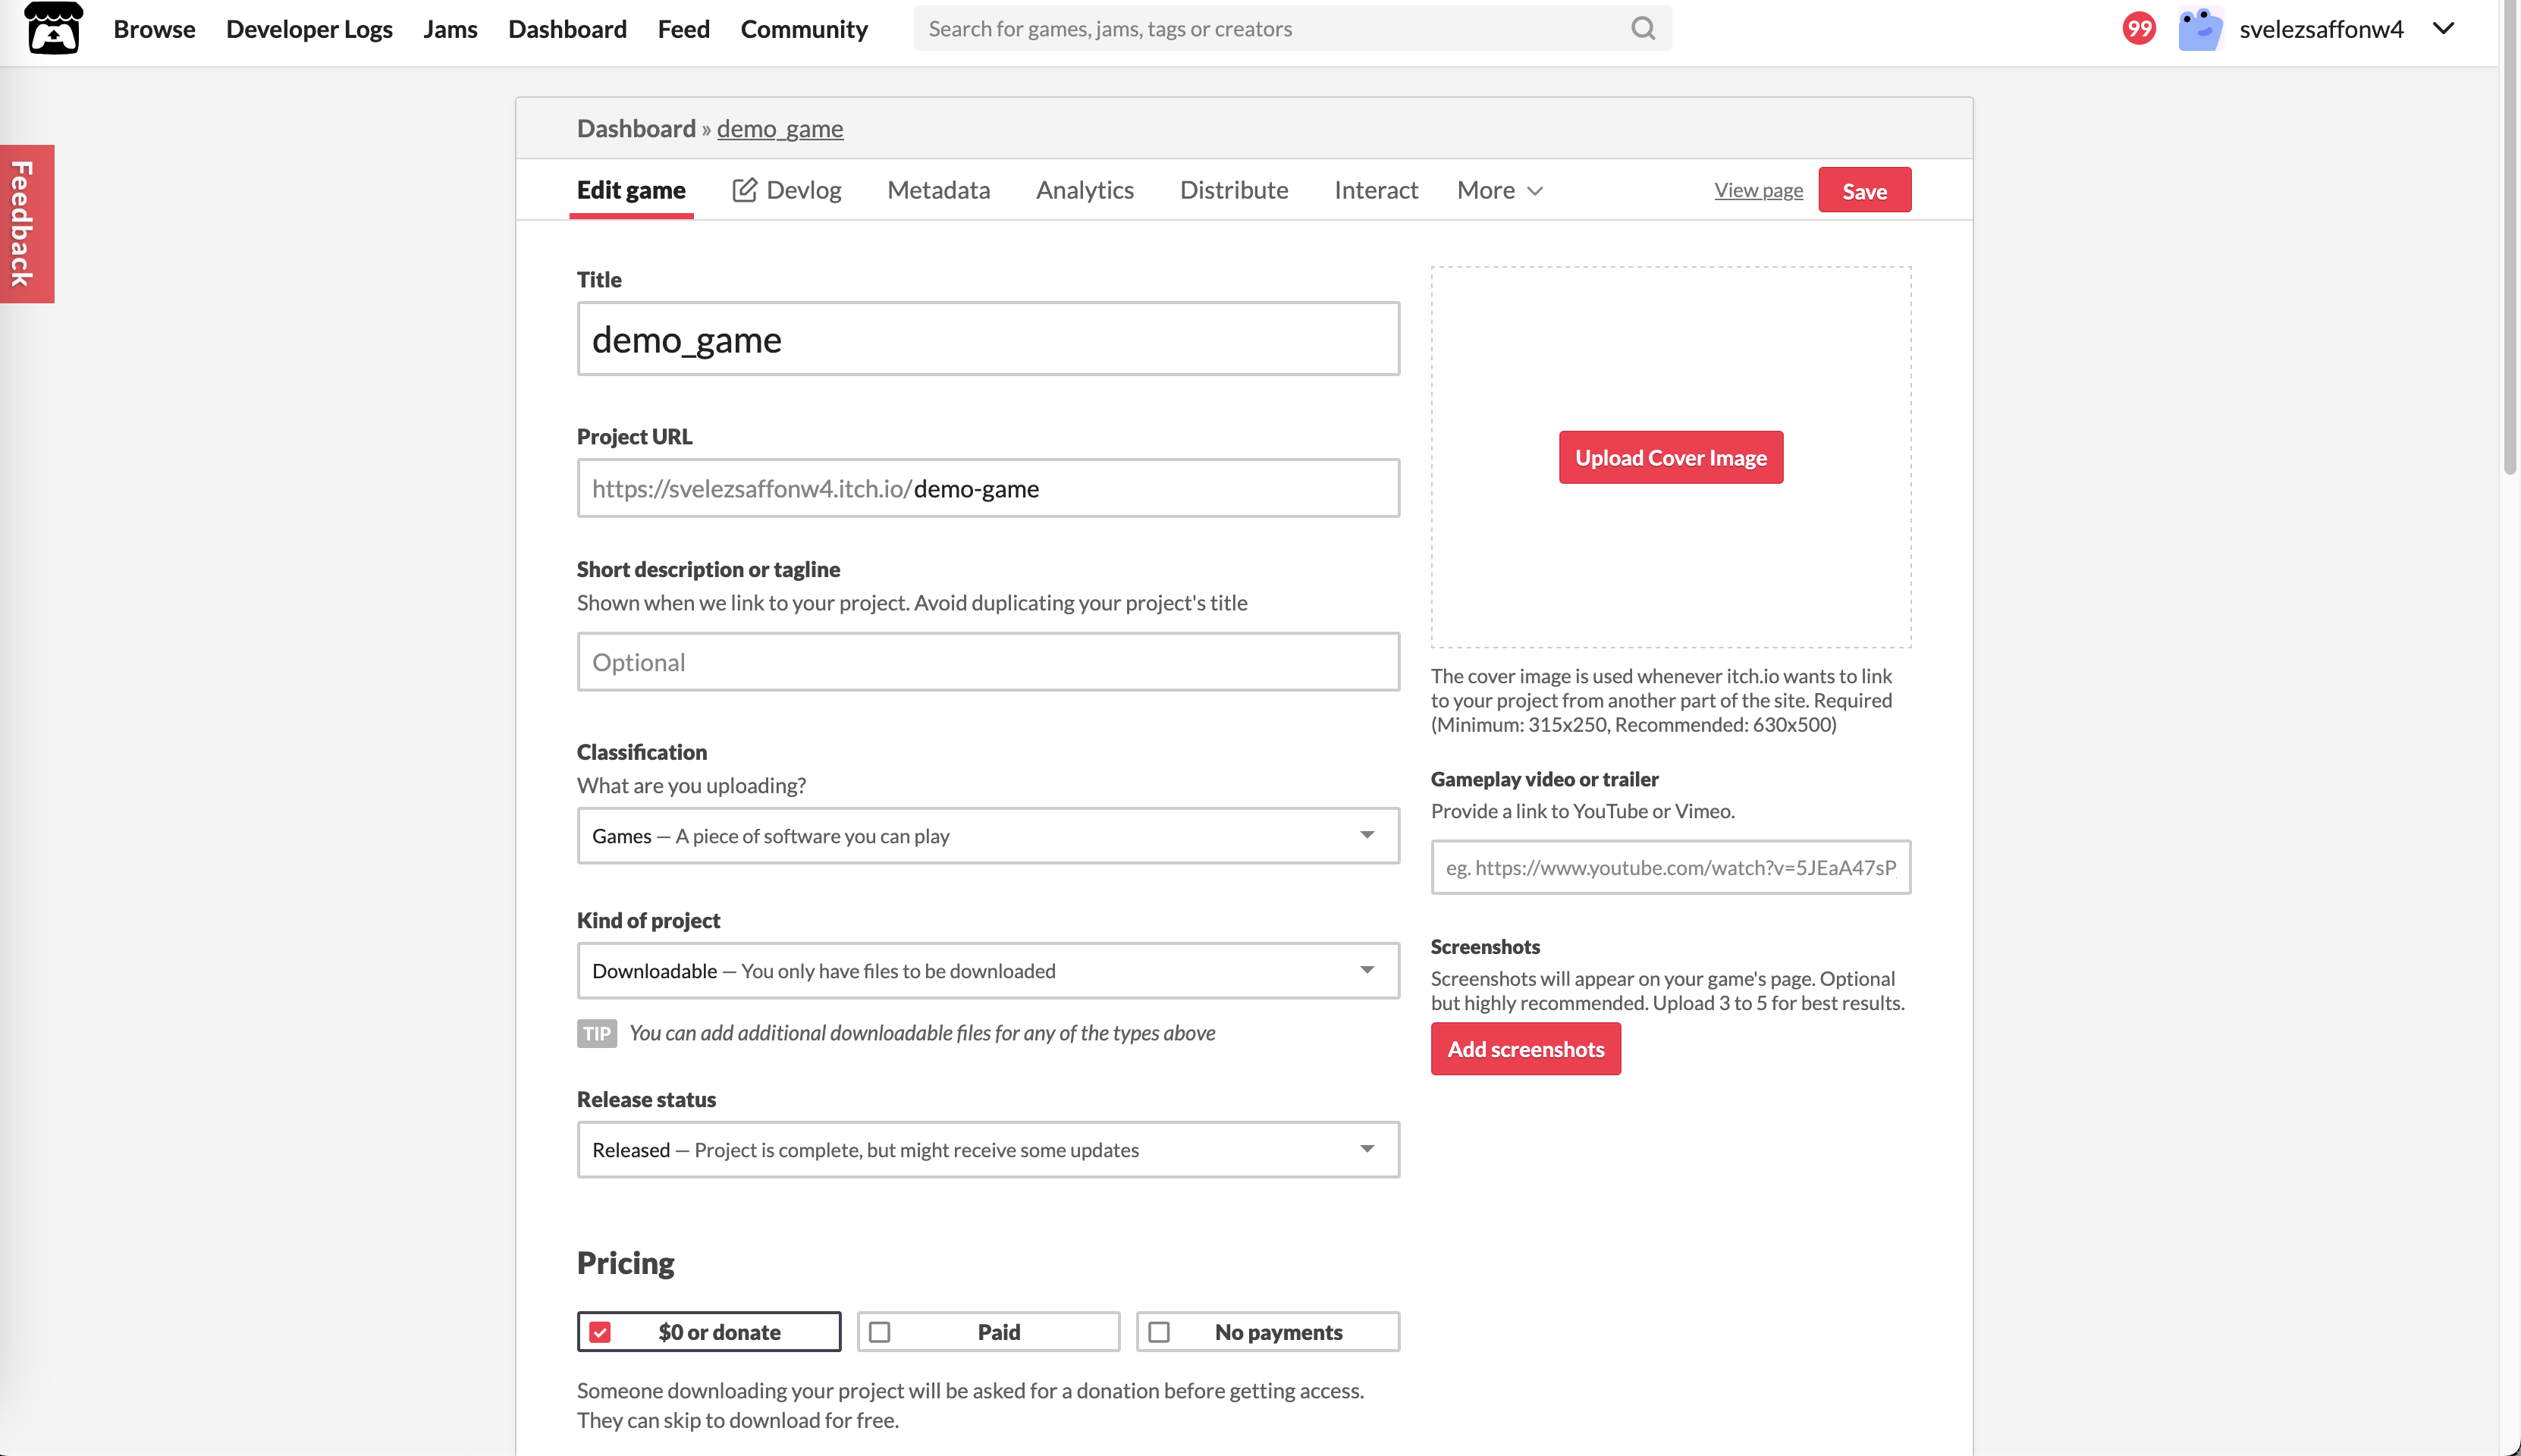
Now lets retrieve itchio API key
Enter the itchio settings
Click Api Keys

Setting up W4Build
Configuring W4Build for Itch.io is straightforward, you only need to add the API key and the channel name
Open w4build target page
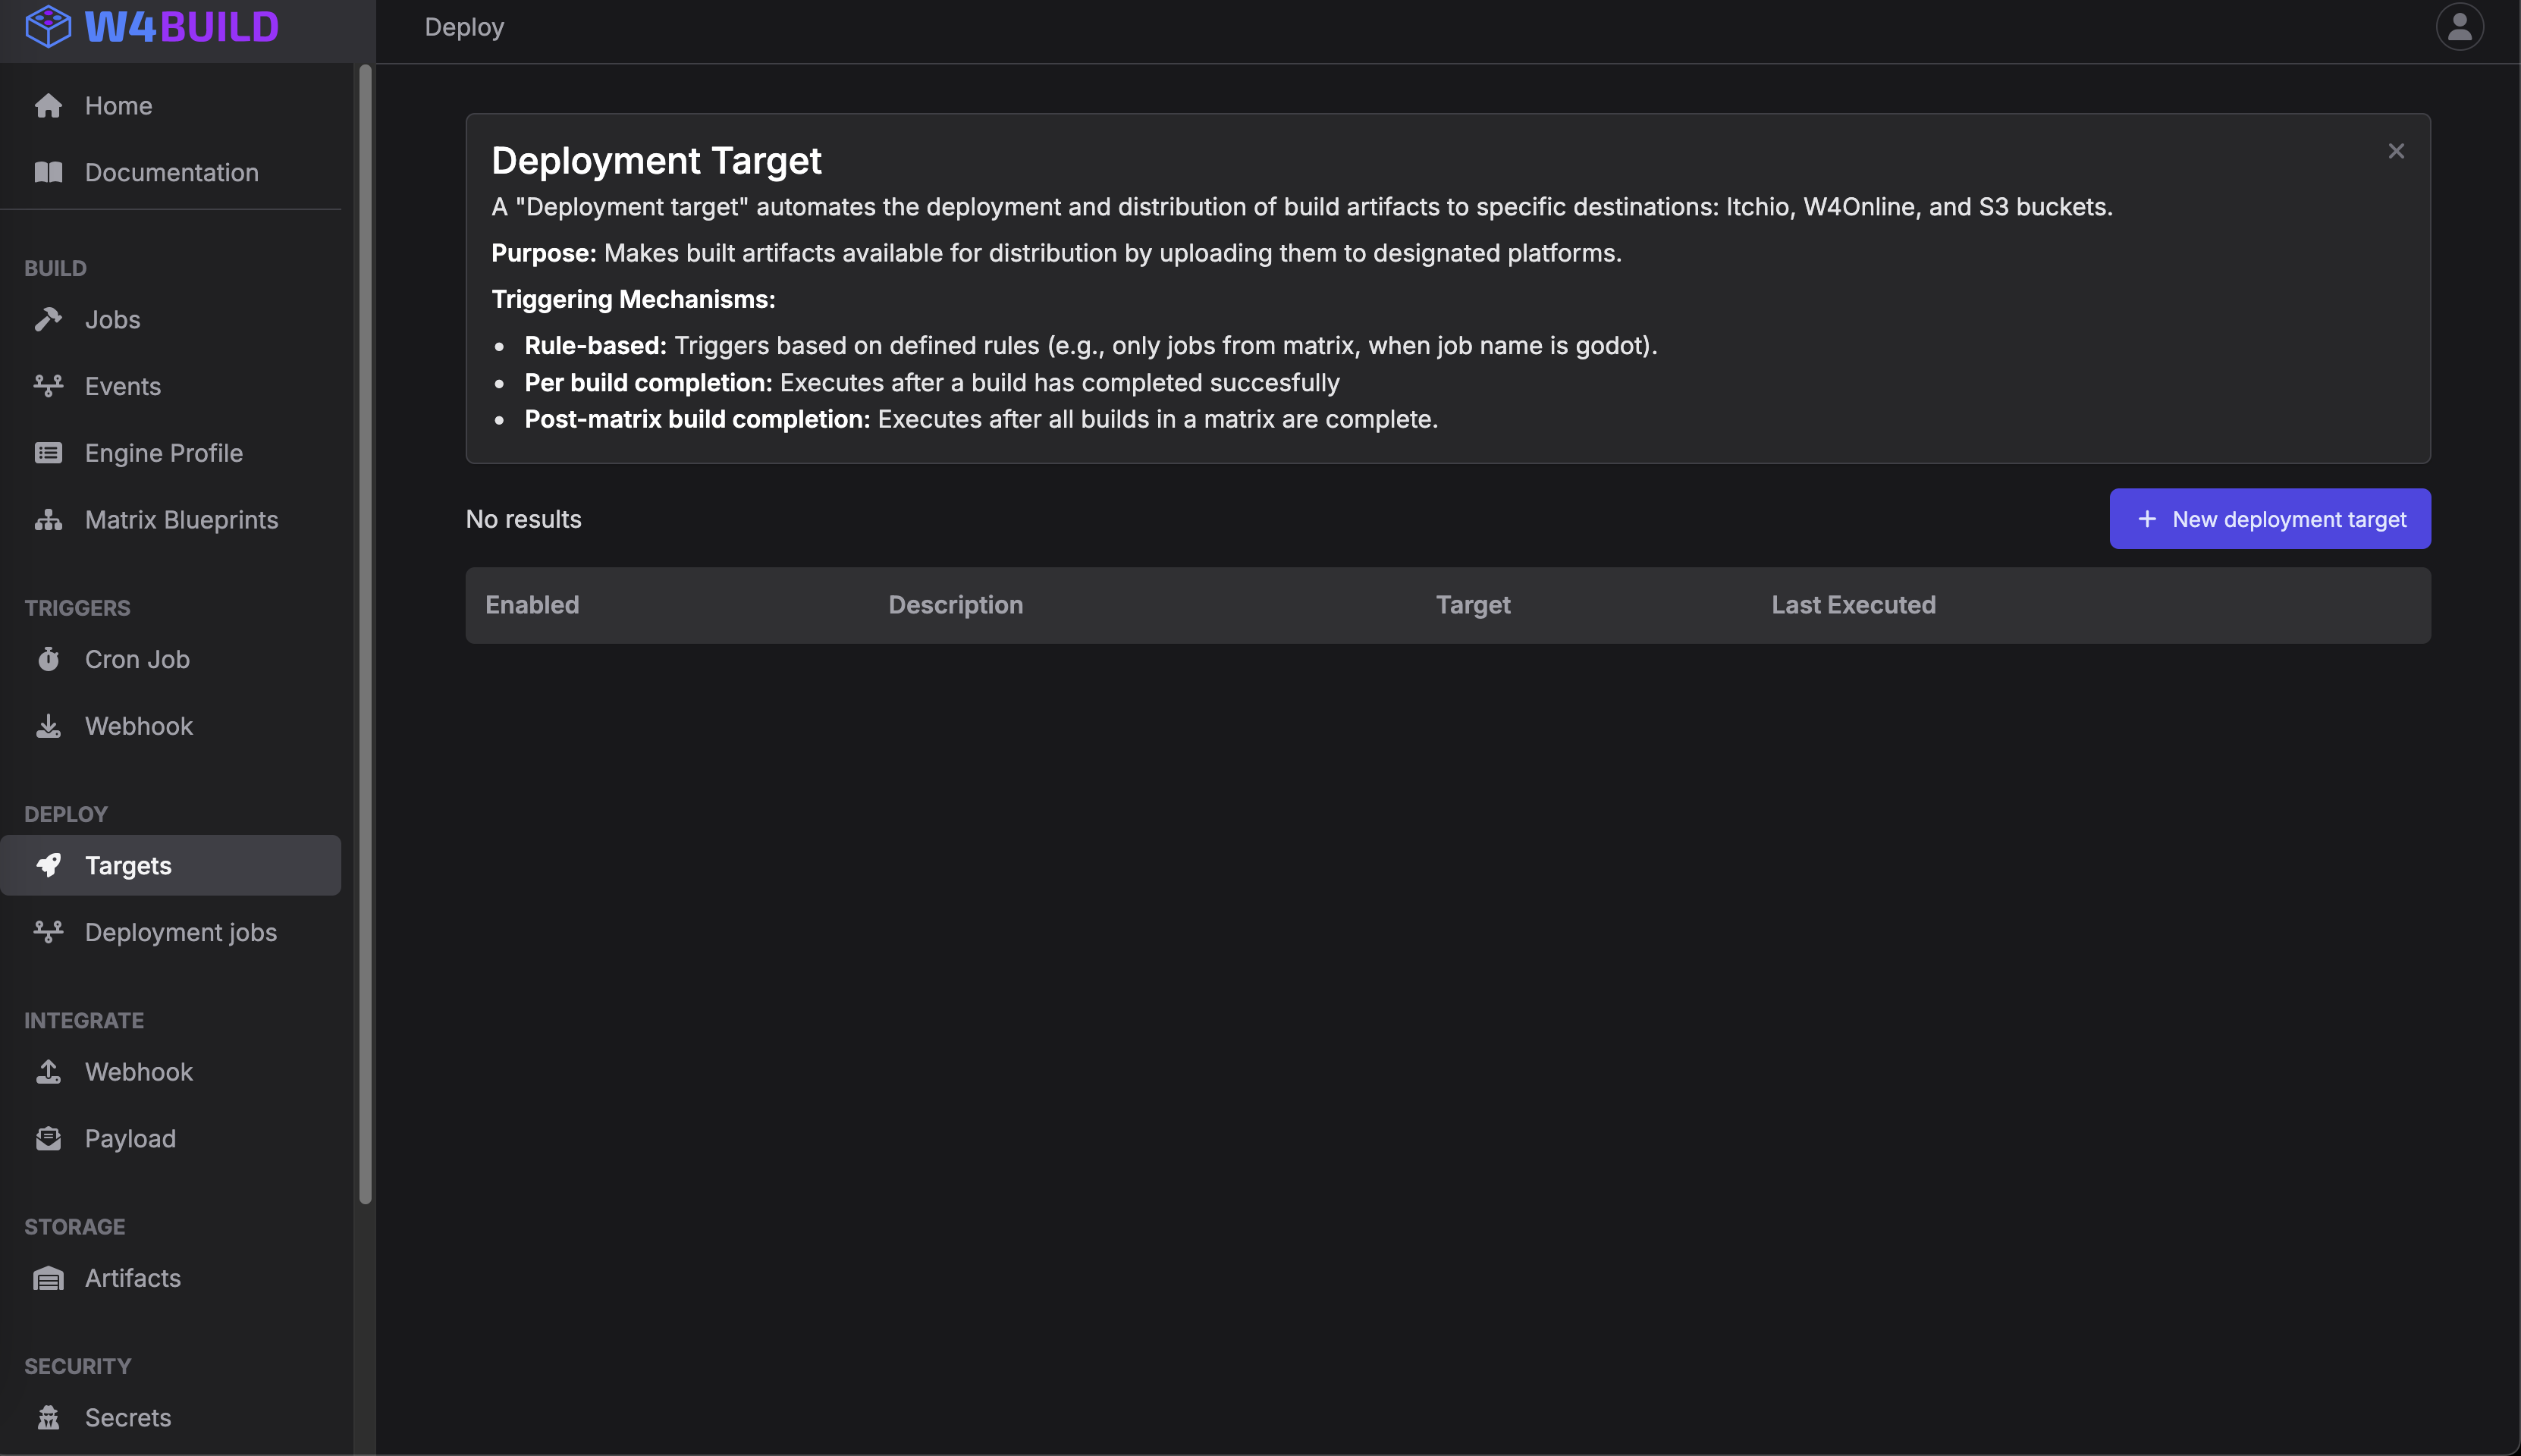
Click add target, and select itchio
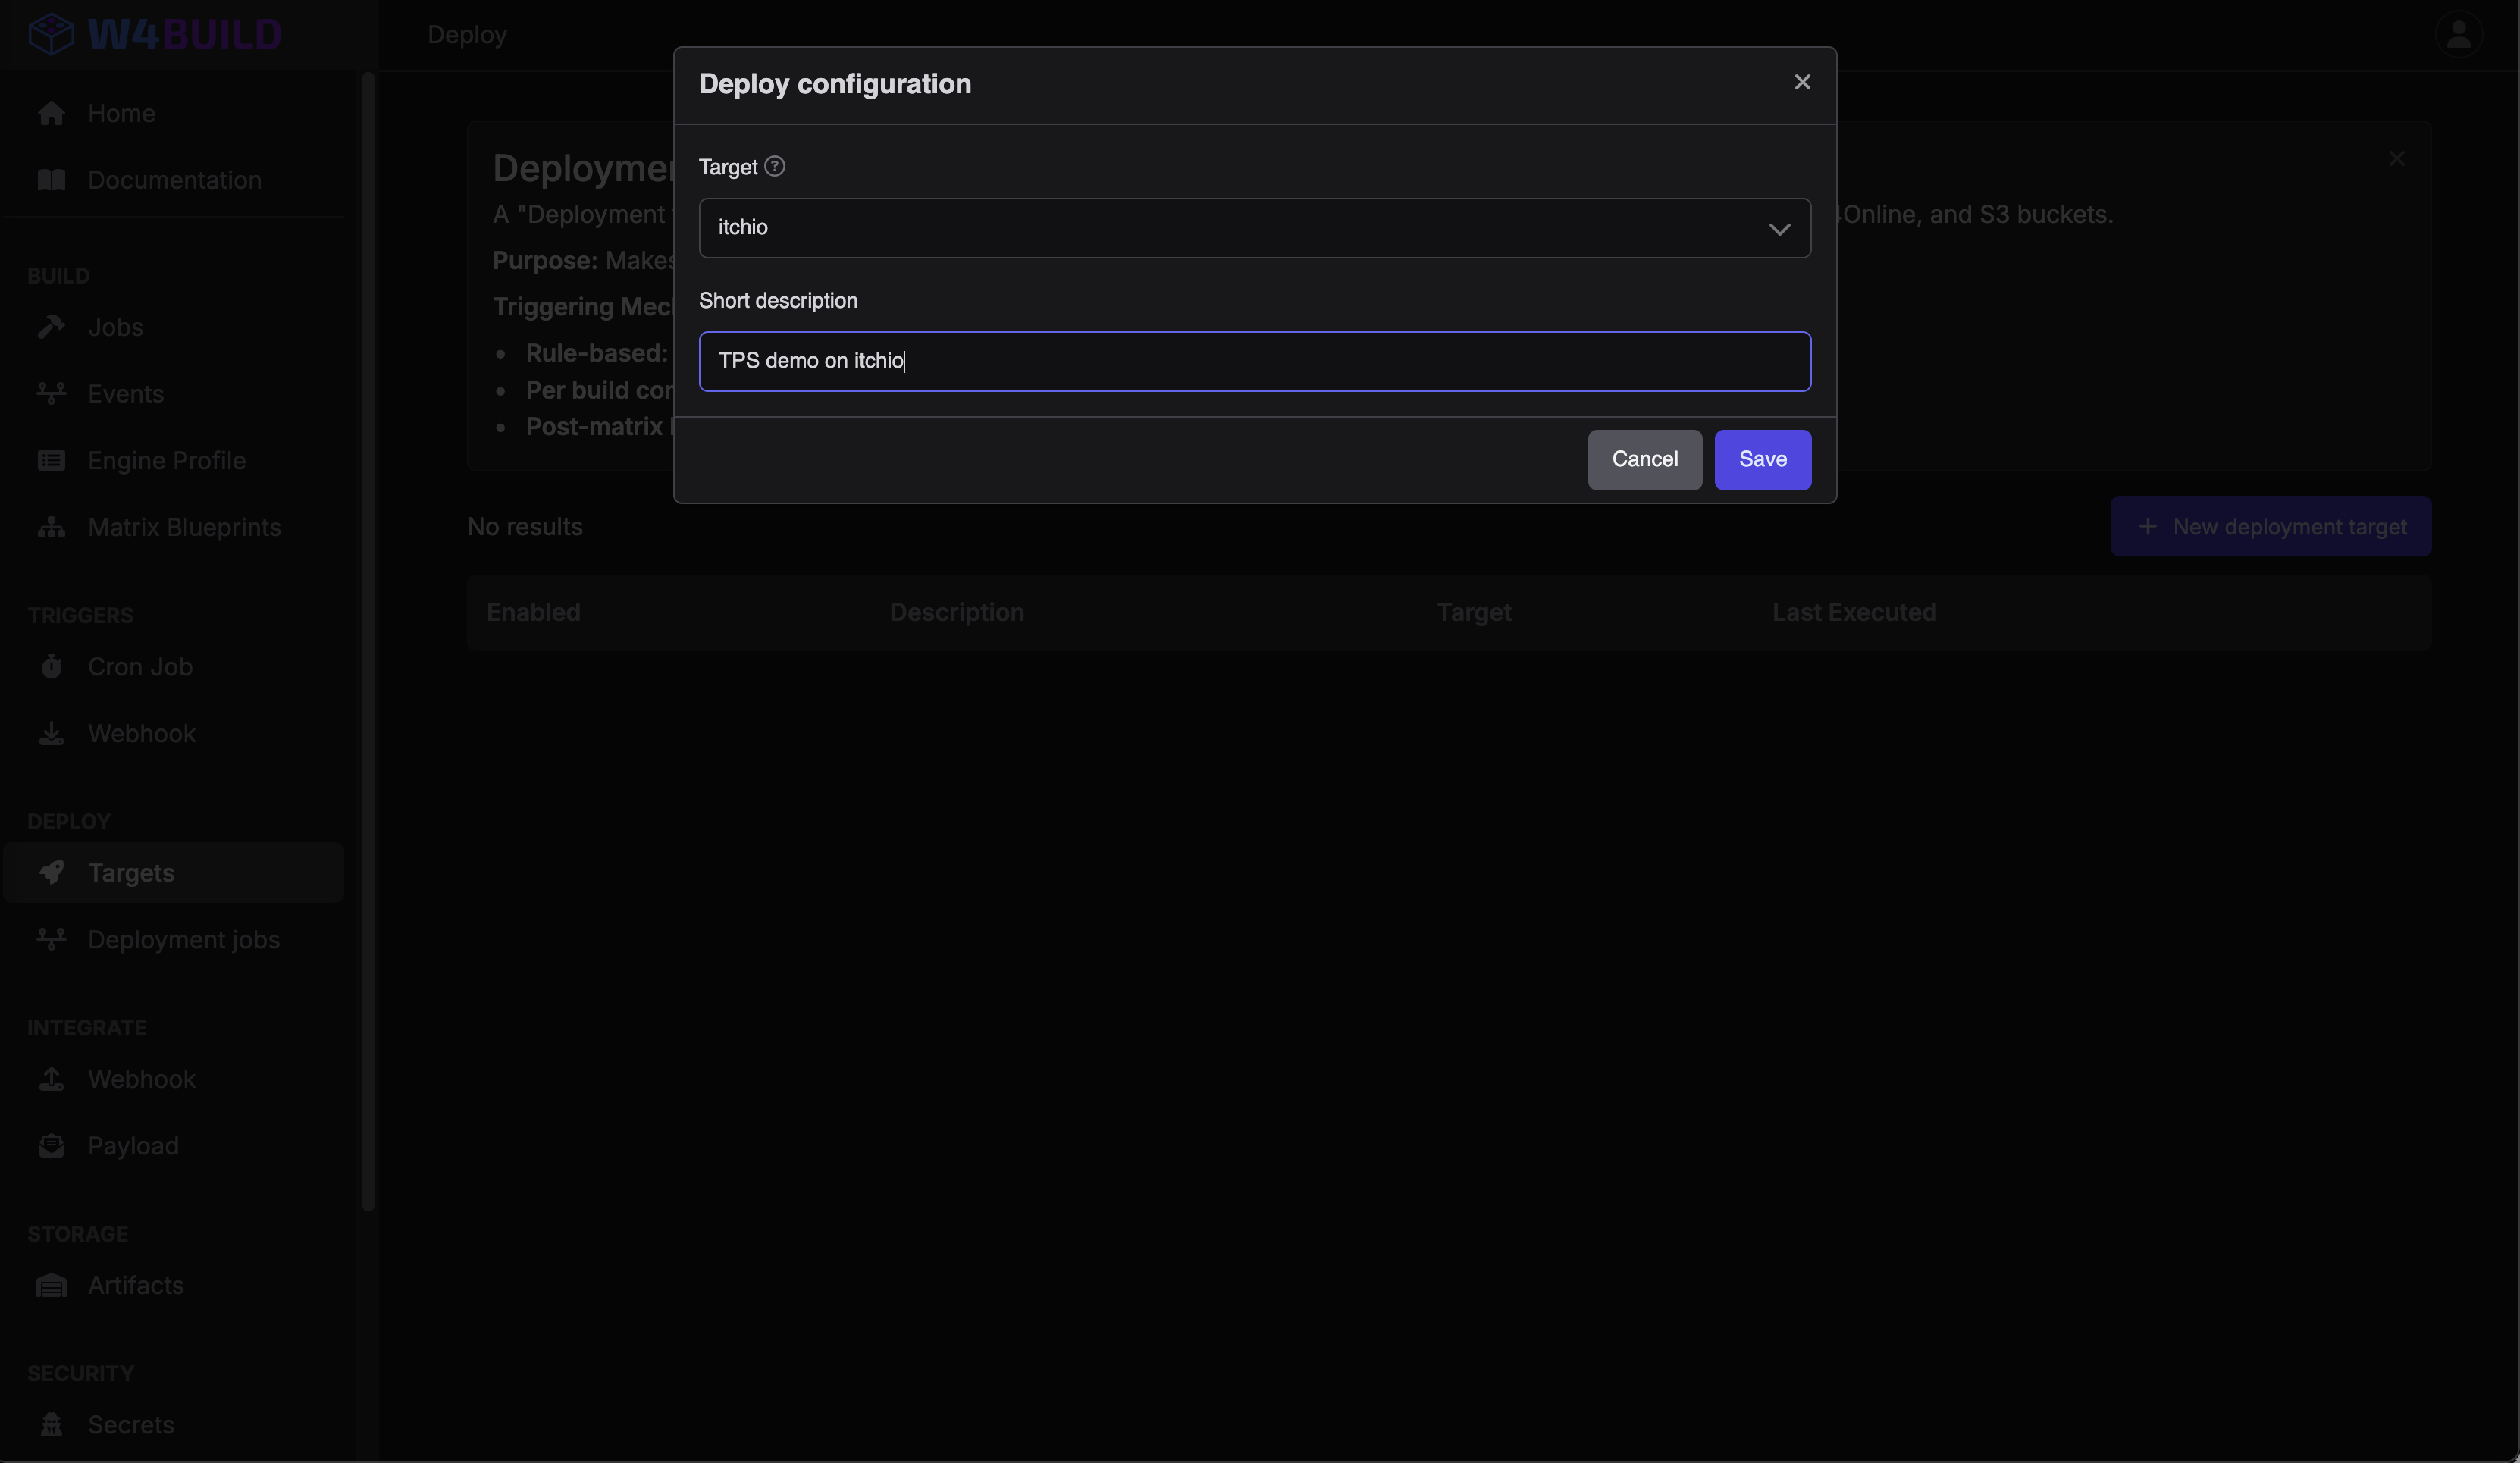
Click configure
Click configure, and fill out the form with the request values.
Each field is:
Api Key
The itchio api key we got from the itchio step setups
Deploy Channel
user/game:channel

Where:

    user/game is the project you're uploading
        for example: finji/overland for https://finji.itch.io/overland — all lower-case
    channel is which slot you're uploading it to
        for example: windows-beta, osx-bonus, linux-universal, or soundtrack
You can use W4Build variables to dynamically created channels
Available Variables:

General build variable

    ${git_repo}: The git repository url
    ${ref}: The git ref, which is a pointer to a specific commit
    ${event}: The UUID of the event
    ${matrix}: The UUID of the matrix to which the Job belongs

Godot job variables

    ${platform}: Linux, windows etc
    ${cpu_architecture}: The architecture that godot is being compiled for
    ${build_target}:

Game Job variables

    ${preset_name}: Godot export configuration name
    ${export}: If the game is being exported for Release or Debug
    ${dotnet}: If the exported game is made using dotnet
    ${export_name}: The given export name for the game or job

Example:

myamazingame/game:${export_name}-${preset_name}

will result in

myamazingame/game:tps_demo-window
CLick save
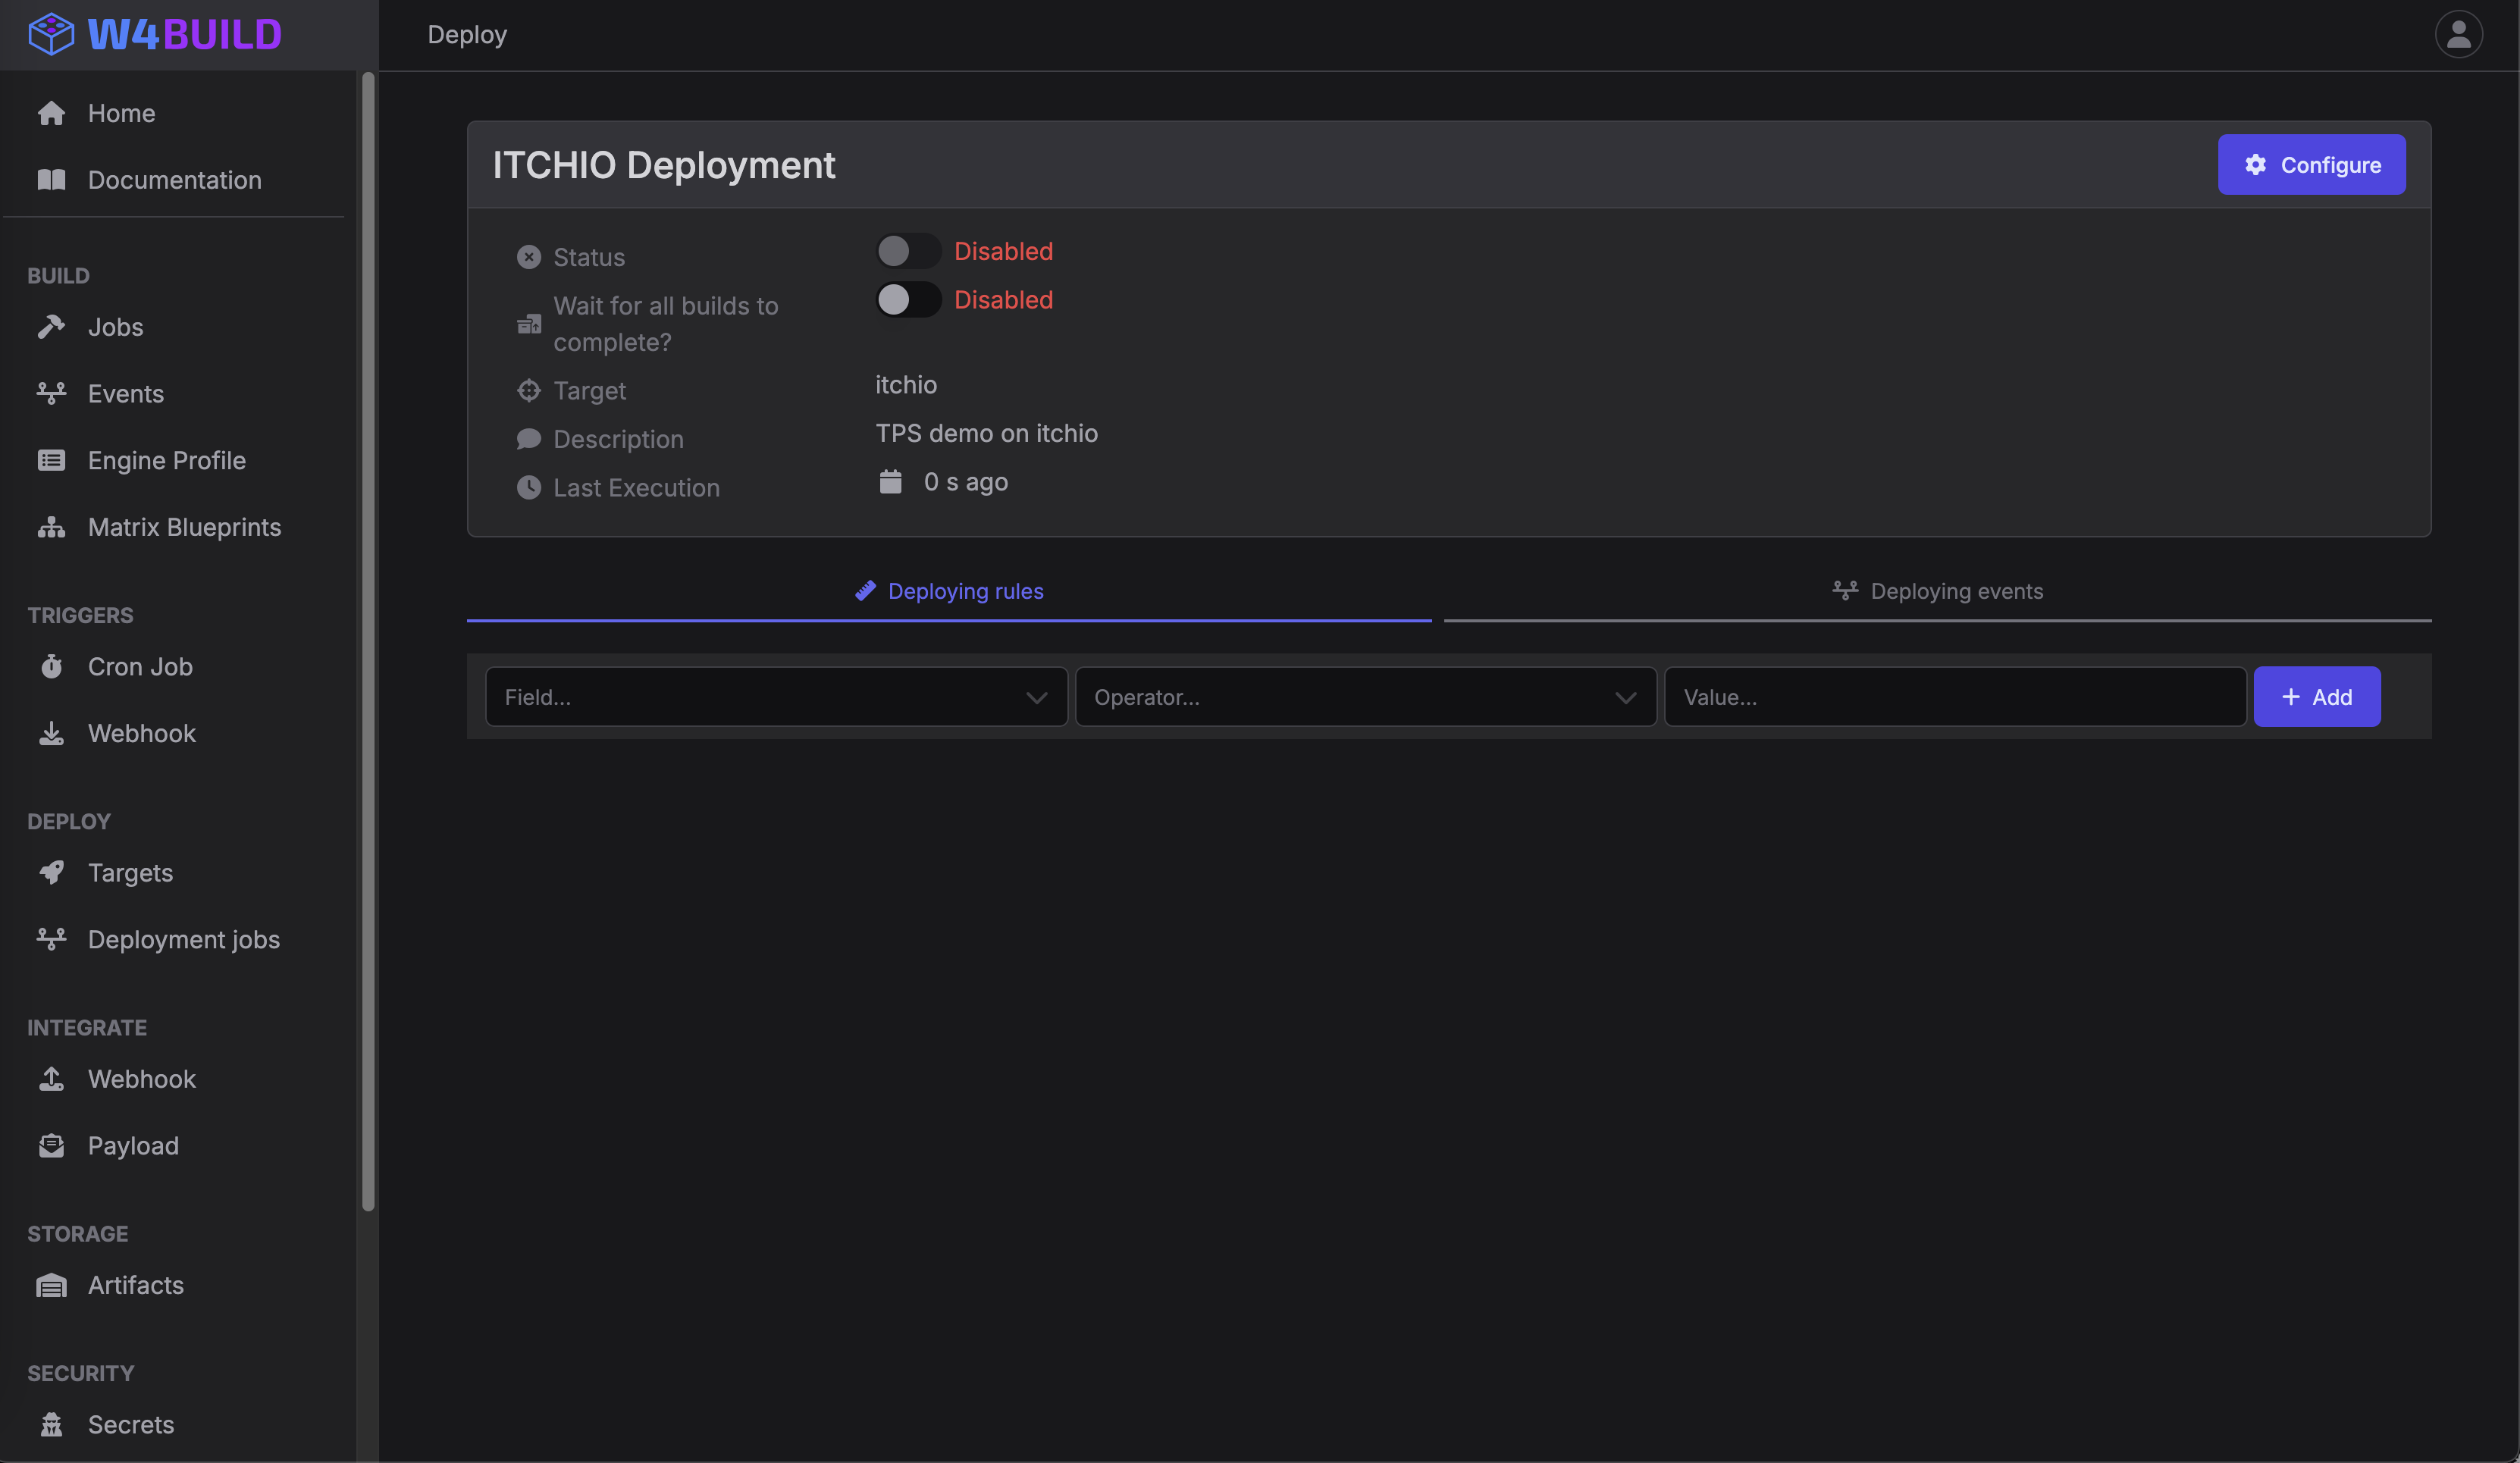
Rules
For this deployment, we will deploy all artifacts that are created from a given matrix, therefor we only add one rule that filters by matrix name
- Match the matrix
This means that only files who were created by builds from the given matrix
Important
After each build completes, the deployment process checks if it meets the required rules. If all rules are satisfied, the deployment is initiated. You can also configure deployments to wait for specific events, ensuring that the deployment only begins once all related builds in an event are finished.